Category Archives: 3 People in Context

People in Context 3 – Telling a Story

The brief for this exercise was to create a simple narrative, involving one or two human figures and produce a painting that gives the viewer the clearest idea of what is happening.

I came across a photograph of a monk reading a book and praying in a temple in Ayutthaya which gave me an idea for this painting and also ideas for how I would go about depicting the stone wall inside the temple. To avoid plagiarism I would adapt the scene to my own painting in myself as the monk and also adding a twist to what was going on. I wasn’t sure of how it would turn out but I was focused on what I wanted the end painting to look like the problem was getting there was to be very time consuming.
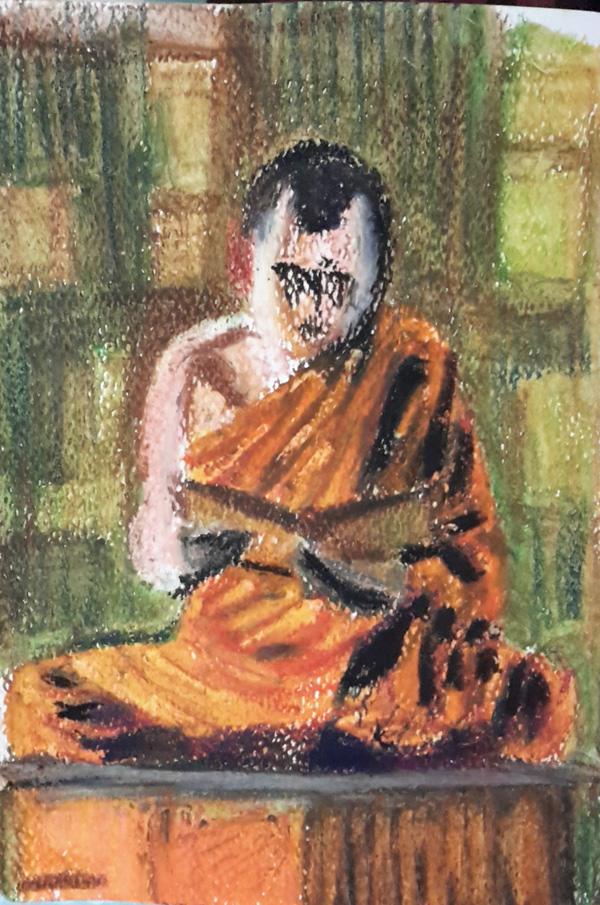
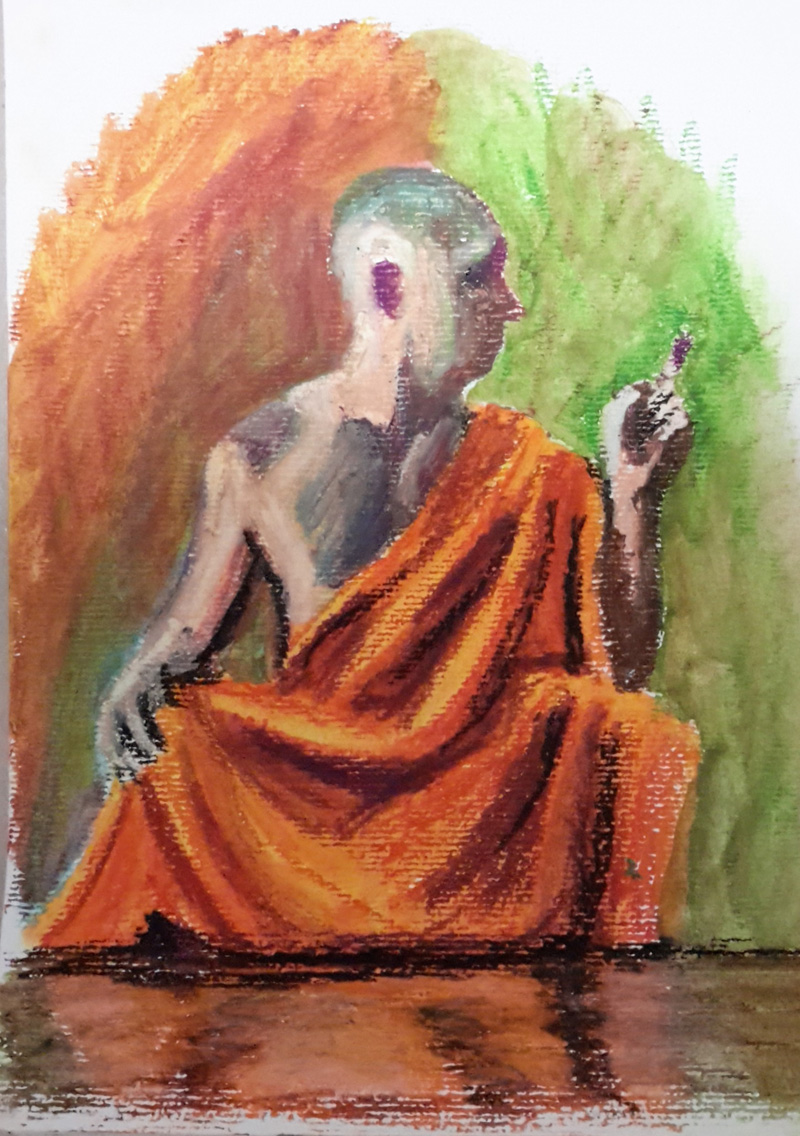
1 - Trying Colours

1 – Trying Colours

The first thing I did was to look at the colours I would use in the painting by drawing the main figure from the already existing photograph just to give me an idea of what colours I would use in the painting. I completed this in water soluble oil pastels, a medium that I had started to use a lot lately.


2 - Background with Dripping Technique

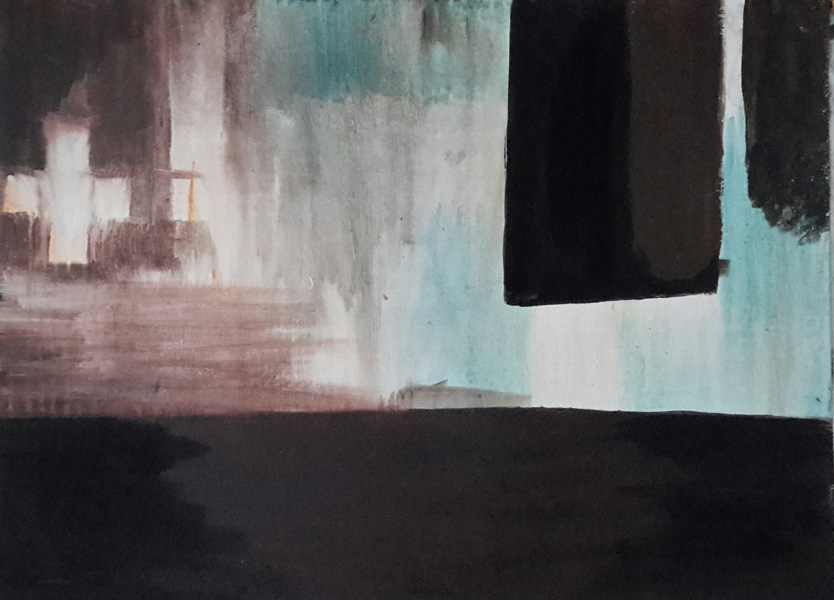
2 – Background with Dripping Technique

From there I continued to examine the photo to figure out which painting techniques I would use to complete the surroundings. I decided on a dripping technique to start with which would hopefully help me to depict the water stains on the ancient stone walls. As I stated in my previous post I begun this exercise before the ‘A Figure in an Interior’ exercise and so like most of the other exercises I completed it on backing board. I only wish I had painted it on a canvas panel to see how this technique would have turned out on a canvas support.


3 - Backgroud Detail

3 – Backgroud Detail

After first using the dripping technique I begun to define the stones themselves. These were very irregular with all different colours, shade and patterns so I wasn’t to worried about doing a brilliant job. When finished it did look like the wall was catching light shining through a window somewhere but the source wasn’t clear it was the figure in the painting that would help determine where that light source came from. I then went on to do some figure studies…
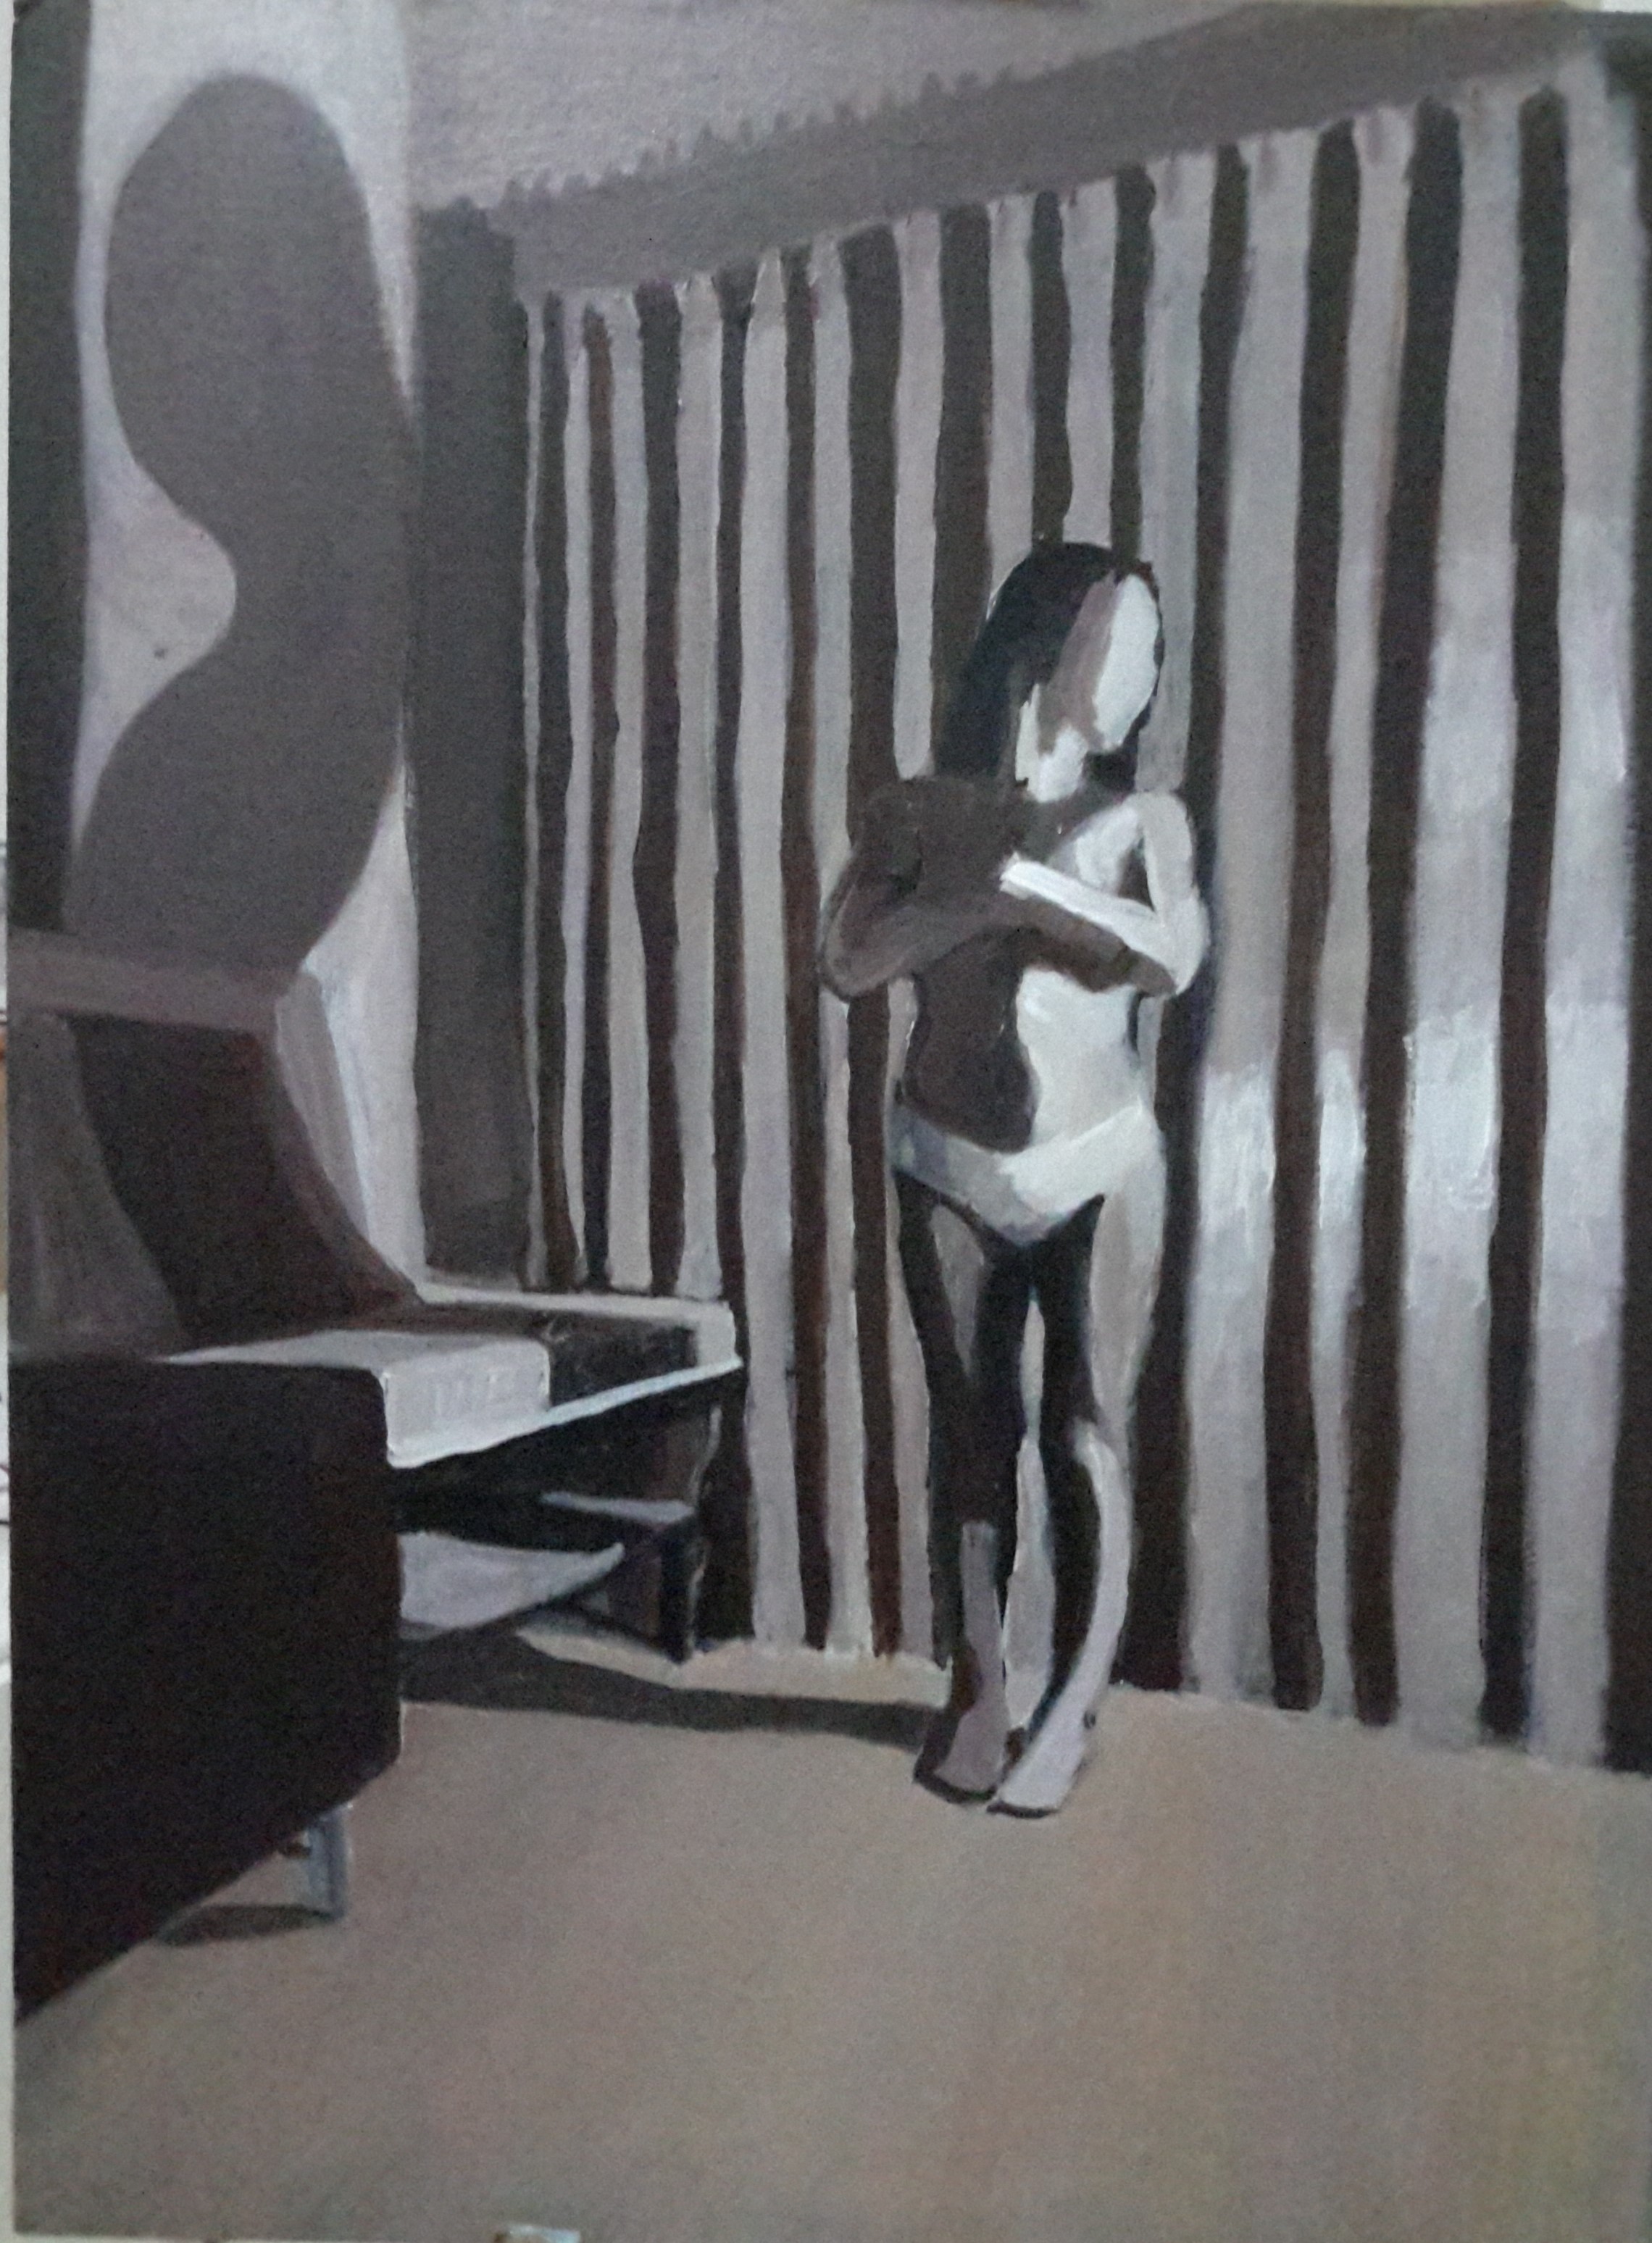
 

Figure Studies

4 - First Figure Study

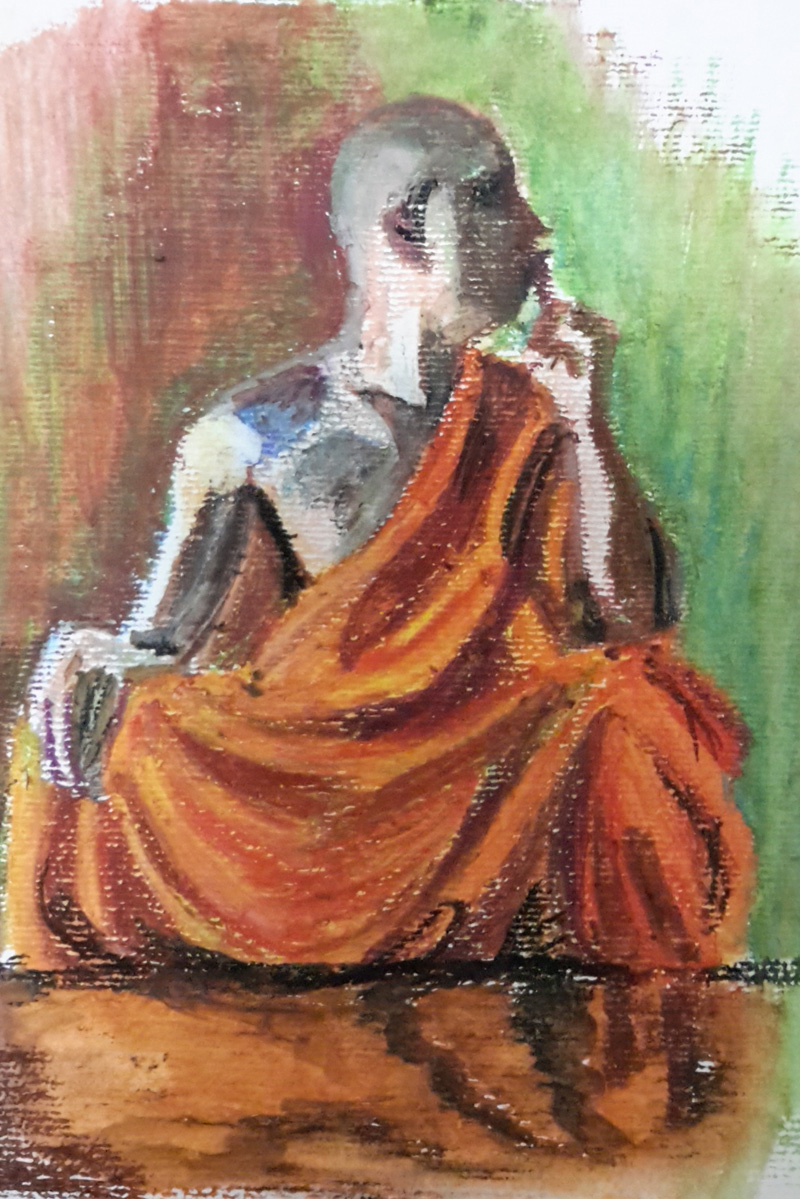
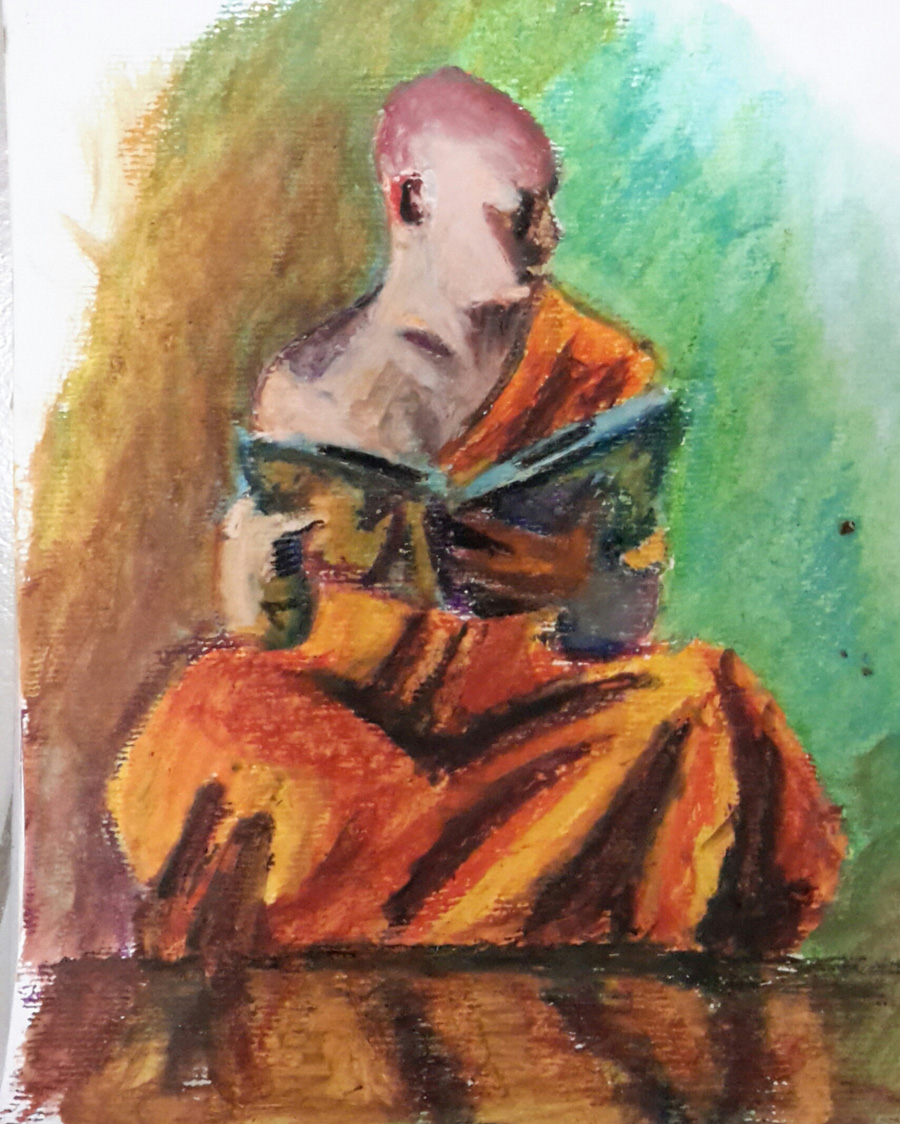
4 – First Figure Study

With my camera mounted on a newly purchased but cheap tripod I set the camera up on remote and started to snap photographs of myself sat in my best attempt at the lotus position and the orange monk cloth, that I have used as a prop in a lot of previous exercises during the last two courses, draped over my left shoulder.


5 - Second Figure Study

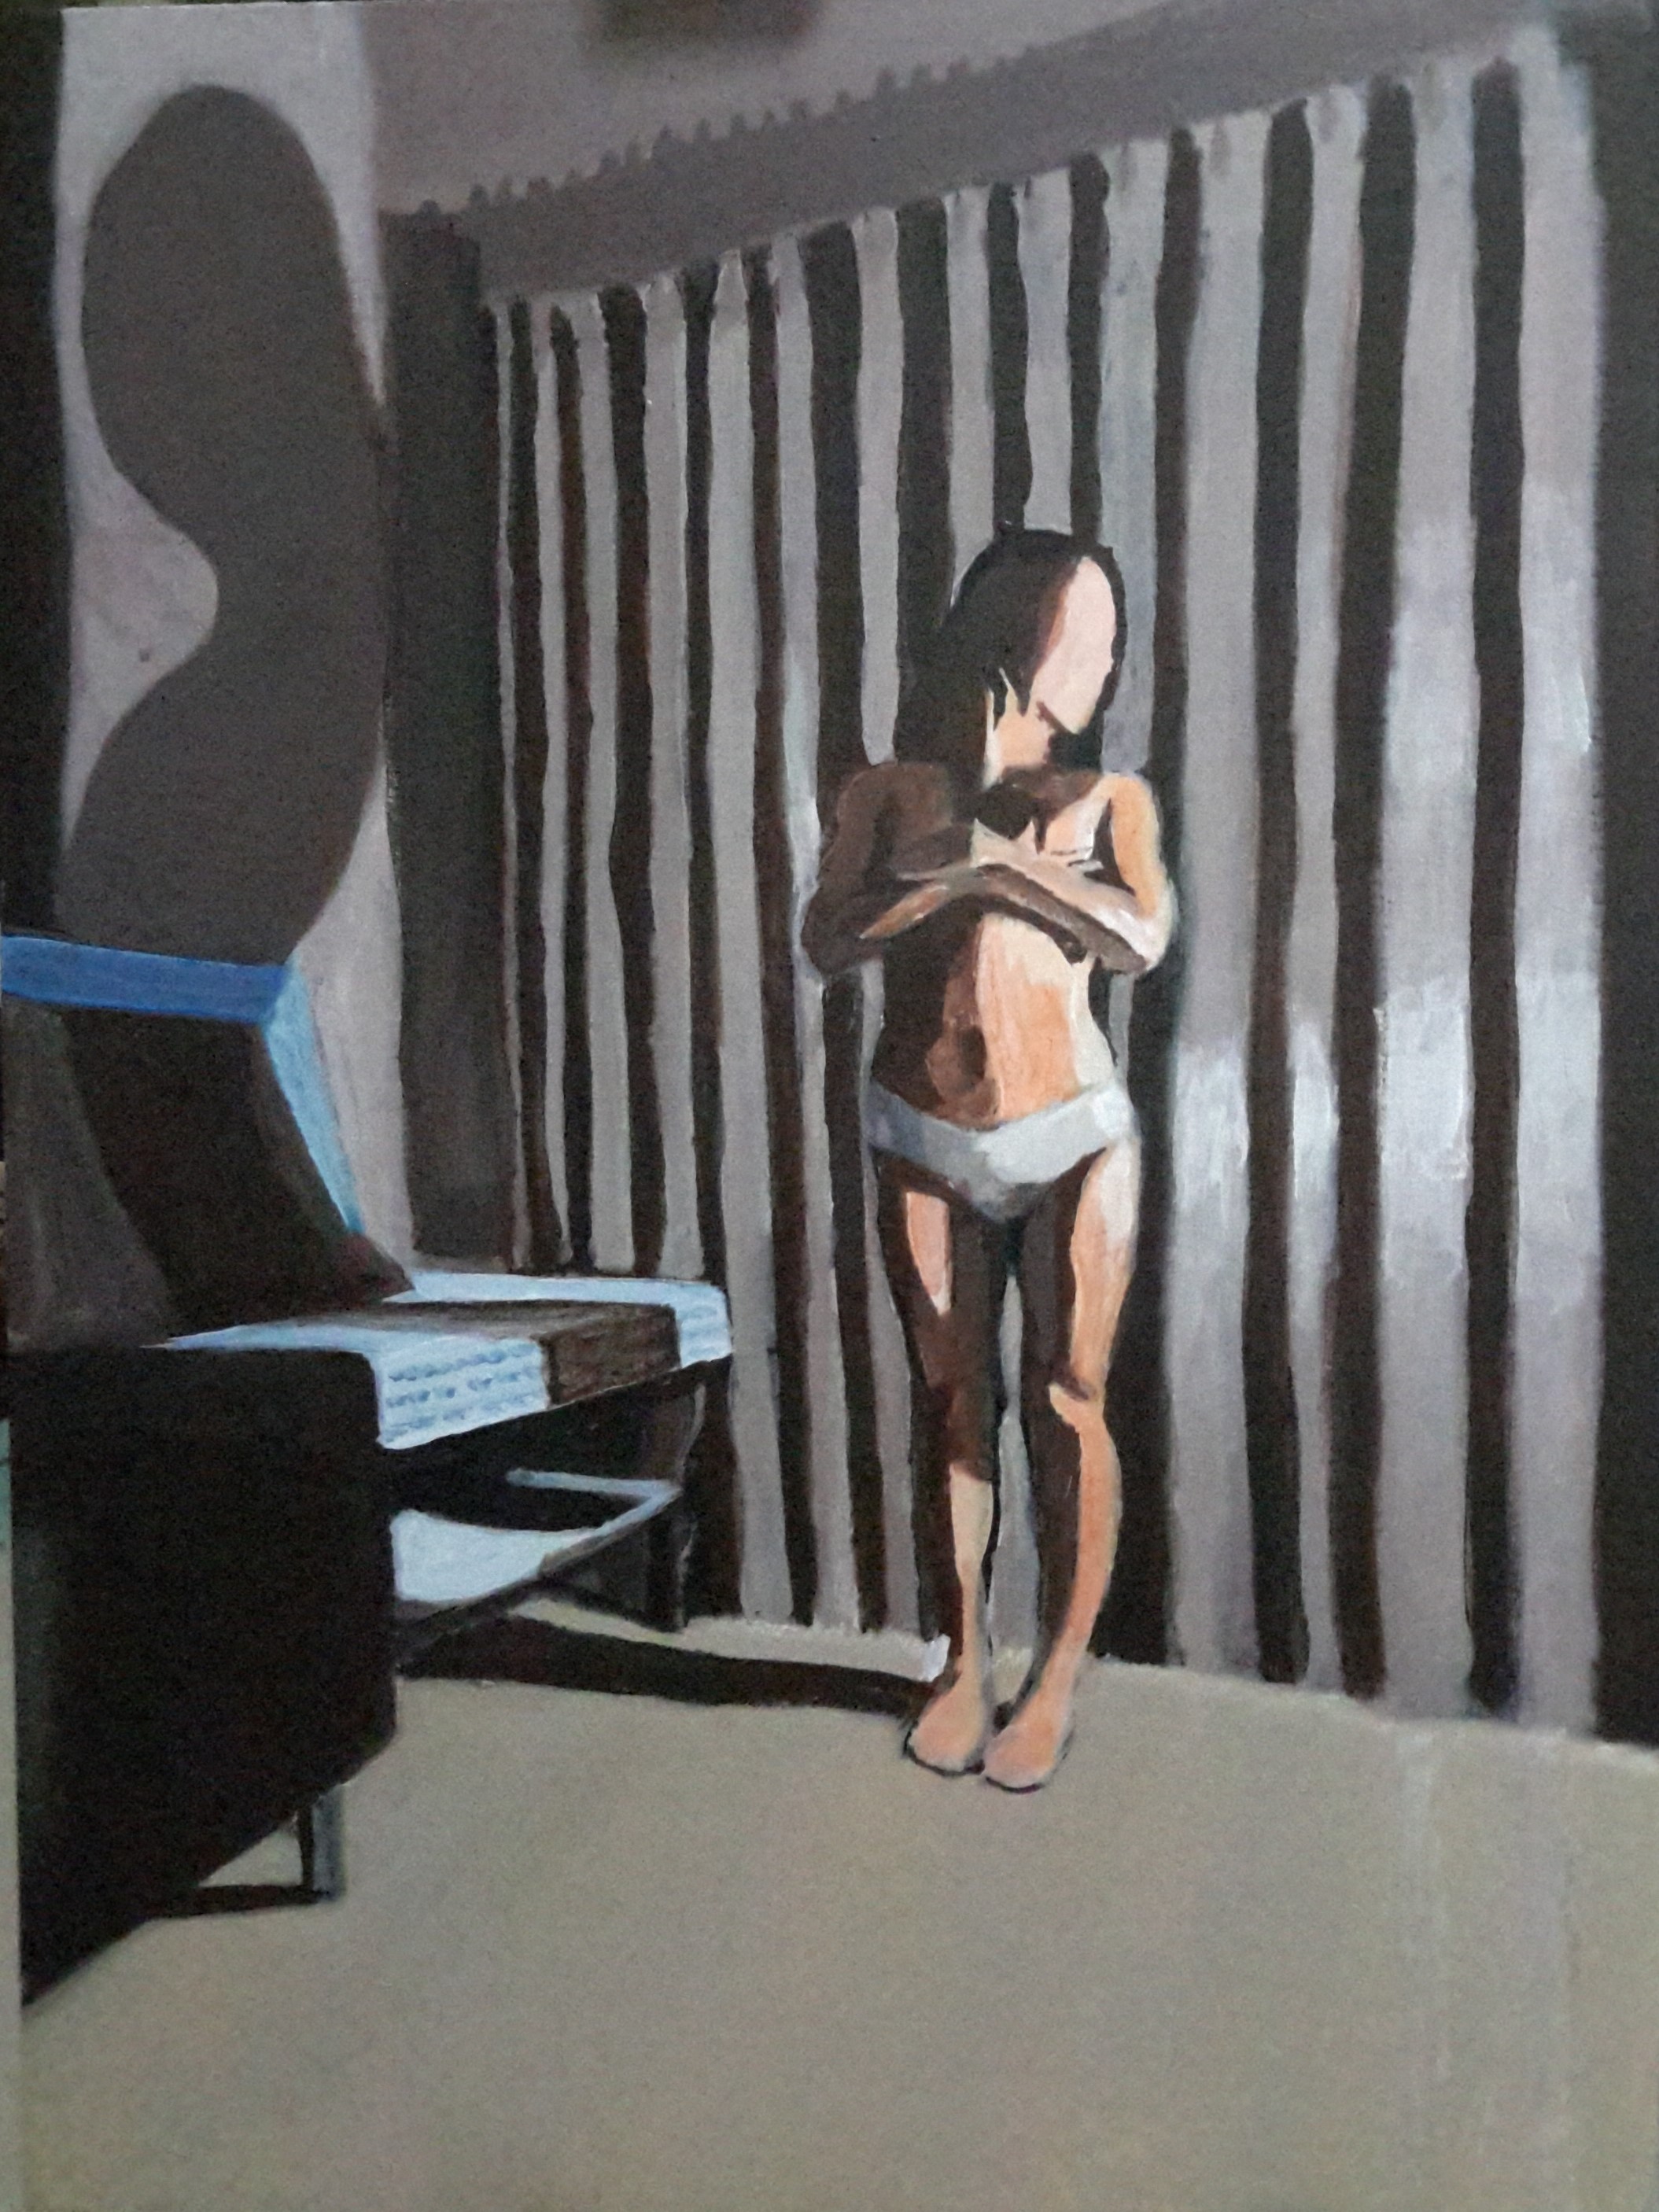
5 – Second Figure Study

I already new I was going to paint something in the window to the right of the painting and so I positioned a lamp to the left (my right) and faced in direction of the window in all of the photographs, making simple gestures with my left hand.


6 - Third Figure Study

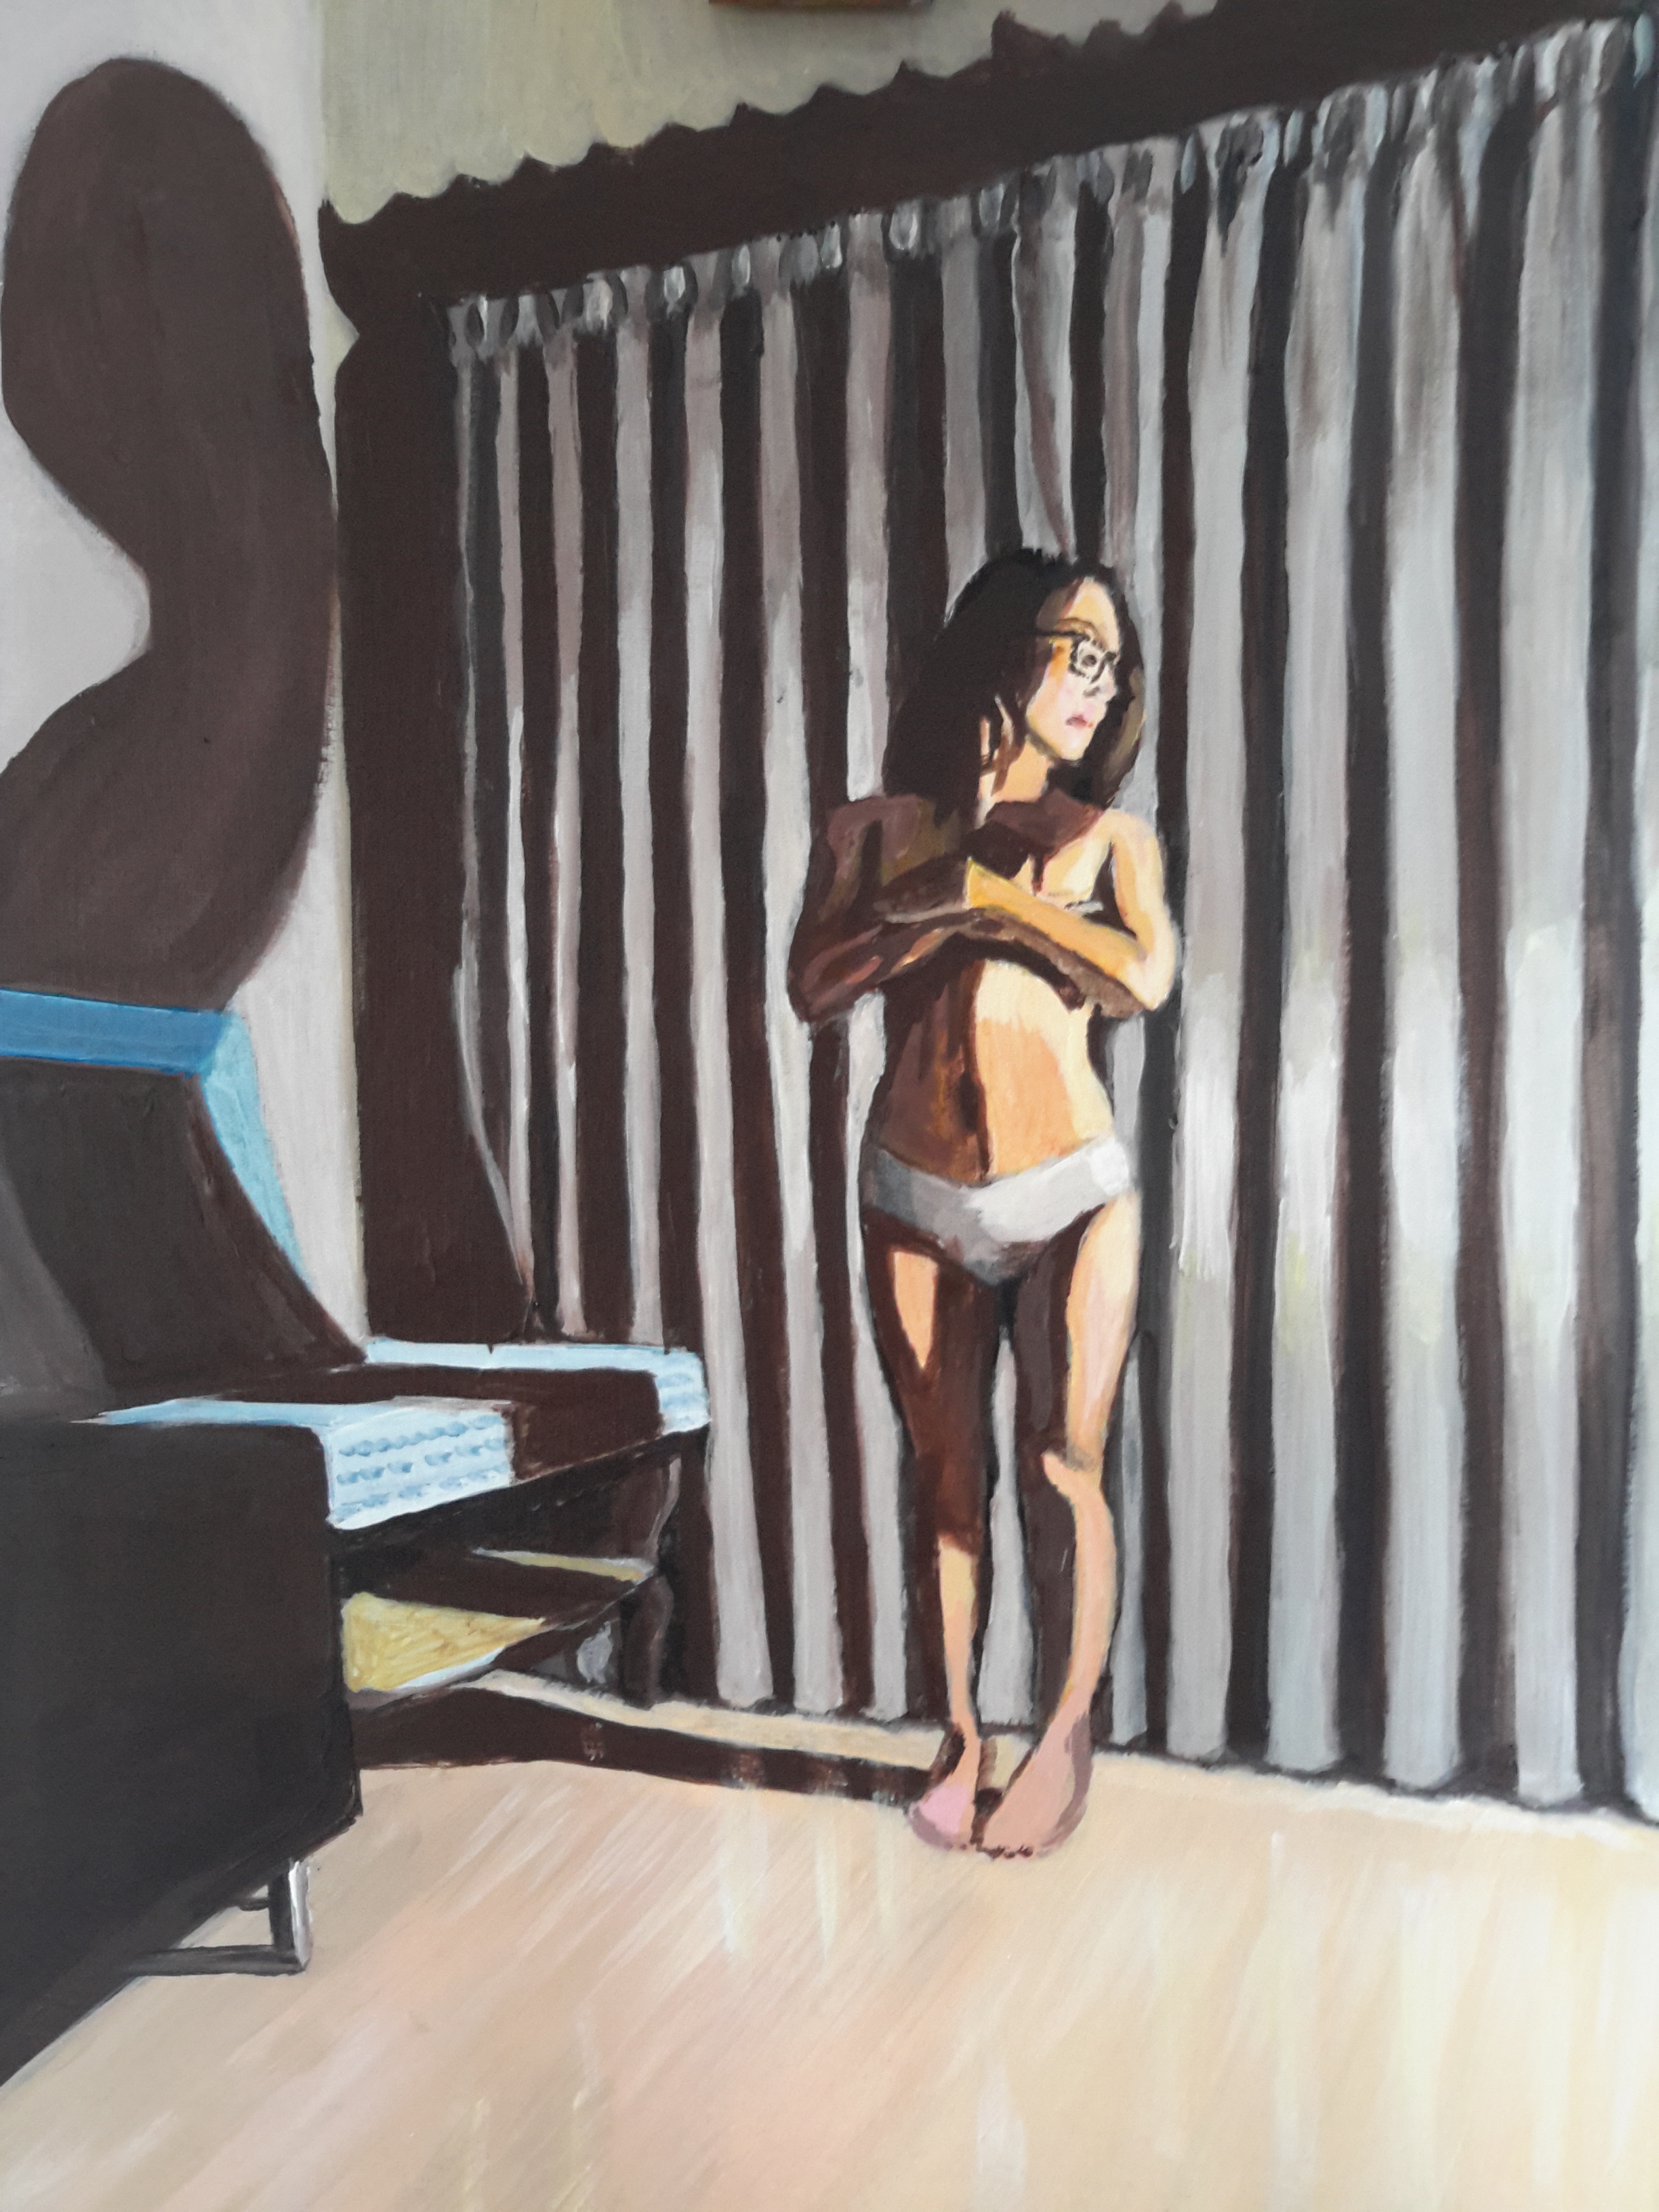
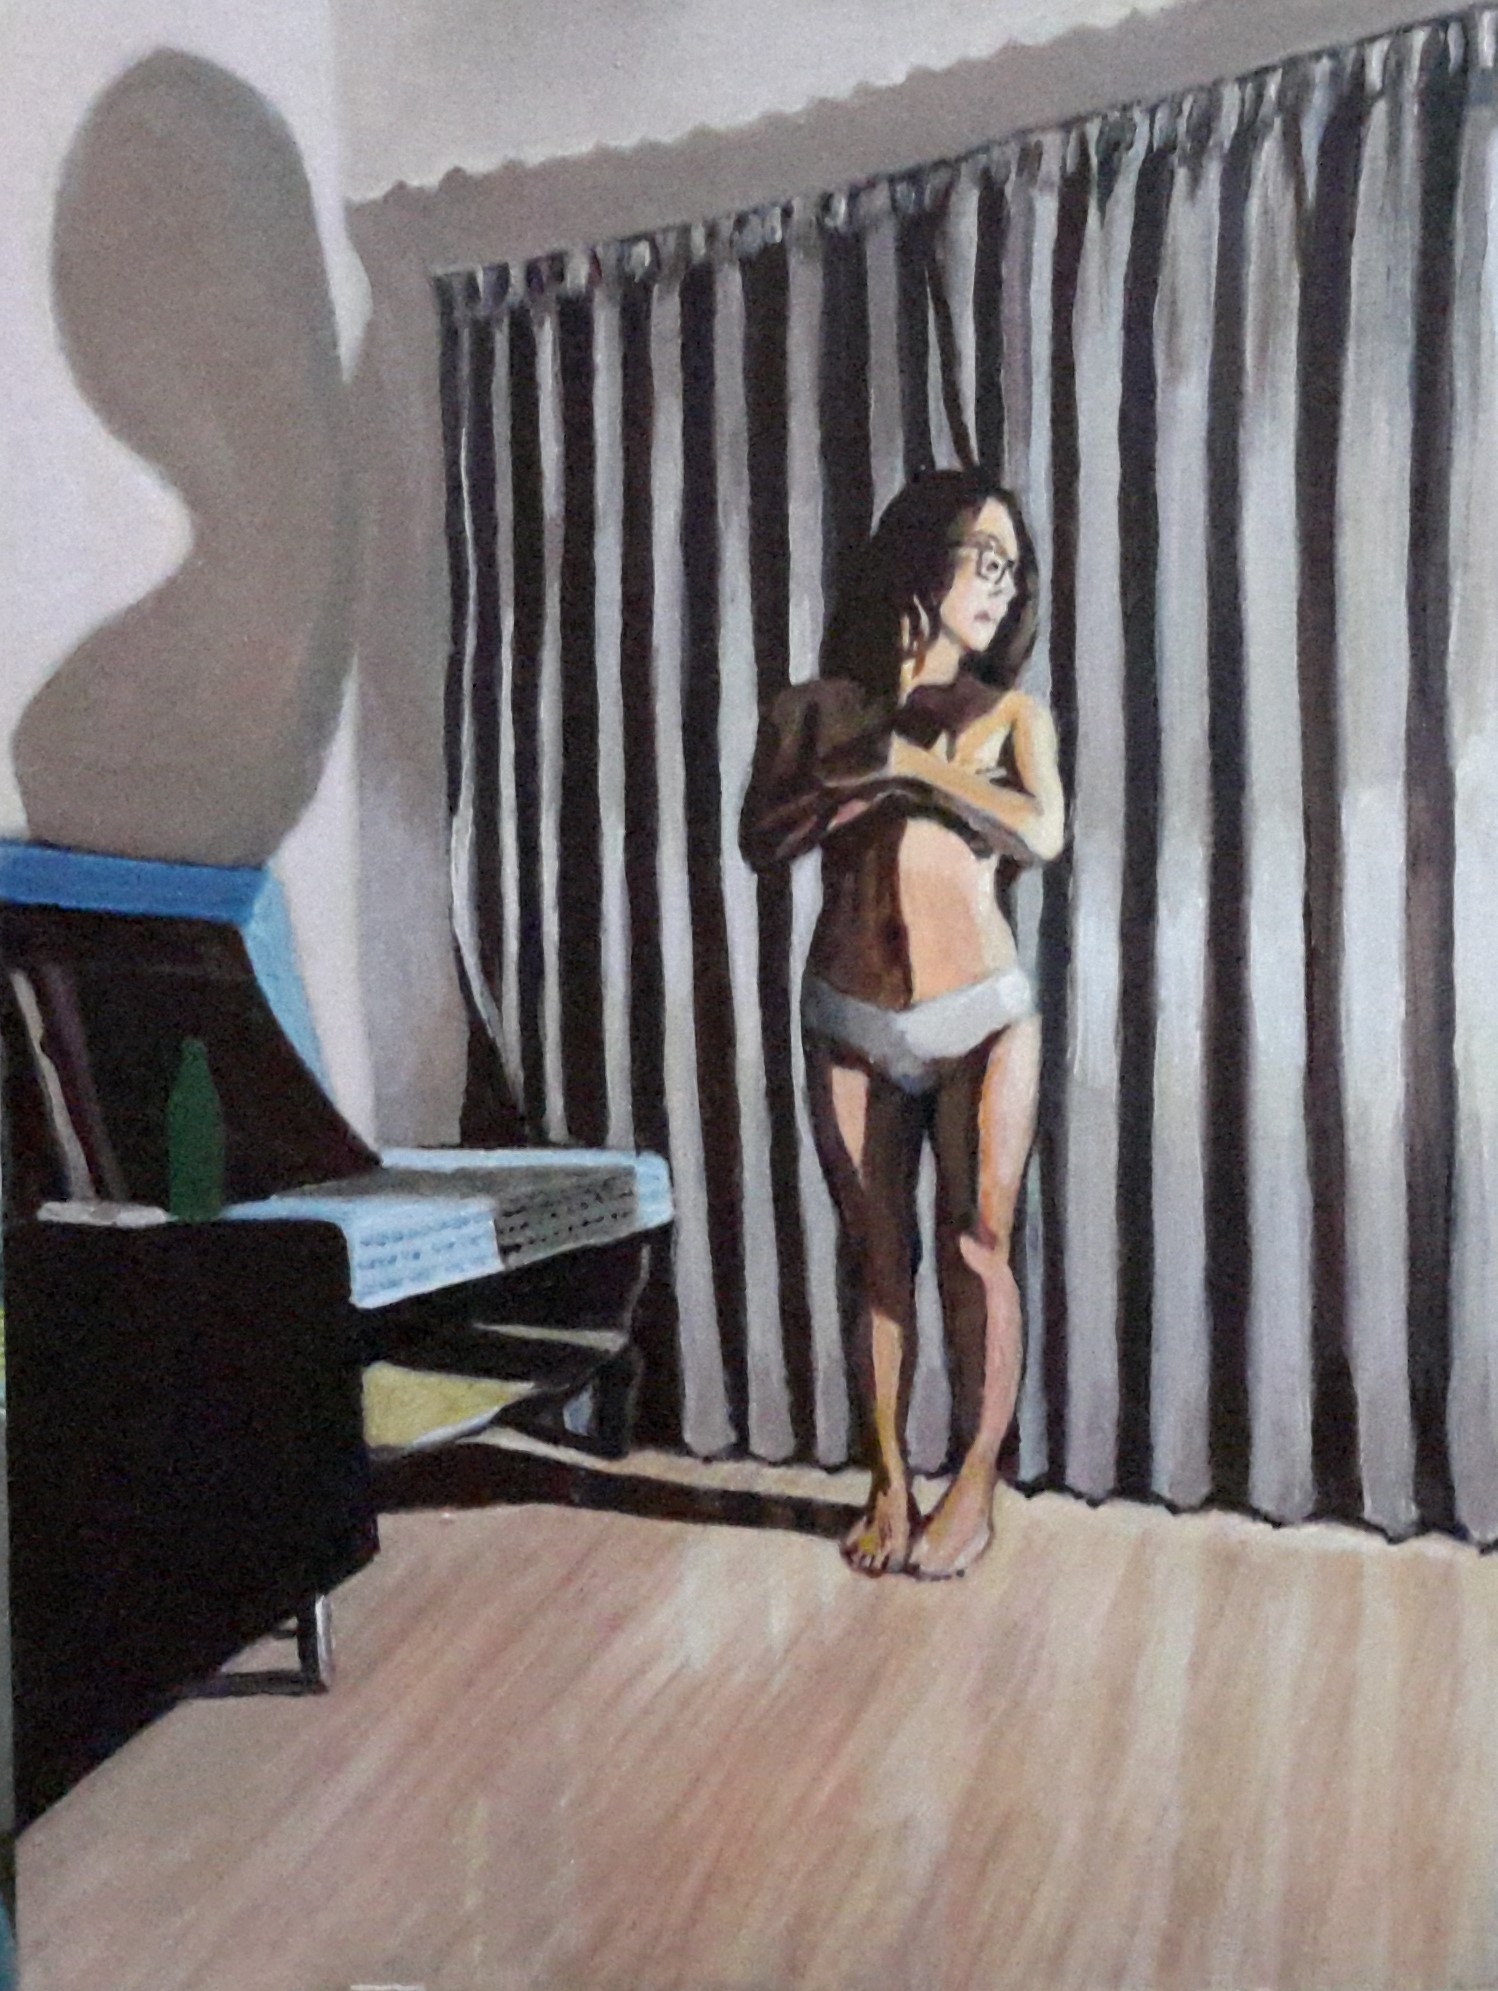
6 – Third Figure Study

Looking back at the these three drawings, which to me were really great studies, especially the ‘Shhhh!’ pose in figure 4. I didn’t really need to paint anything else apart from one of these very suggestive figures which had ample information to complete this exercise.

The water soluble oil pastels gave the drawings a really oily effect, which I loved and so I shall be working on larger paintings from these studies, hopefully in oils in some future project.


Painting in the Figures

7 - Painting in The Robes

7 – Painting in The Robes

After choosing one of the studies to work from, the pose with the pointing figure, I began to paint the figure onto the larger painting. So I wouldn’t mess up the already painted background I drew in the figure in the same oil pastels which could be removed by my battery eraser if I made any mistakes. I was to find out that I could actually paint over any section of the wall if I needed to with a thin mix of paint in thin vertical strokes to keep up with the effect of the water stains.


8 - Starting the Figure

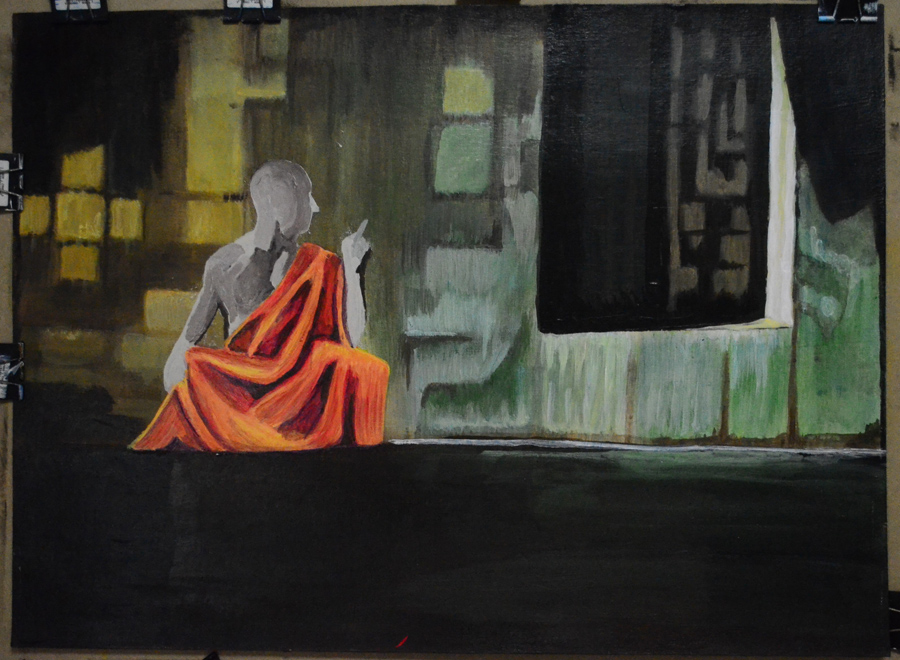
8 – Starting the Figure

With the  basic outline drawn out I began to paint in the robes using a medium paste mixed in with the paint to make them stand out more, then I started to paint in the figure. By this time I was having doubts to how the painting would turn out, the pose I had chosen looked quite weak but I carried on nonetheless.


9 - Painting in the Shadows

9 – Painting in the Shadows

After painting in most of the figure I began to work on the shadow and other objects in the painting. Firstly I began to paint as though the floor was a mirror forgetting about distortions that would be caused by the ancient wooden floor. By this time I had already deleted the photo so I couldn’t copy it making the painting quite hard to paint I decided on painting the shadows by puling the brush down in a slight zig zag motion.


10 - Painting in the Second Figure

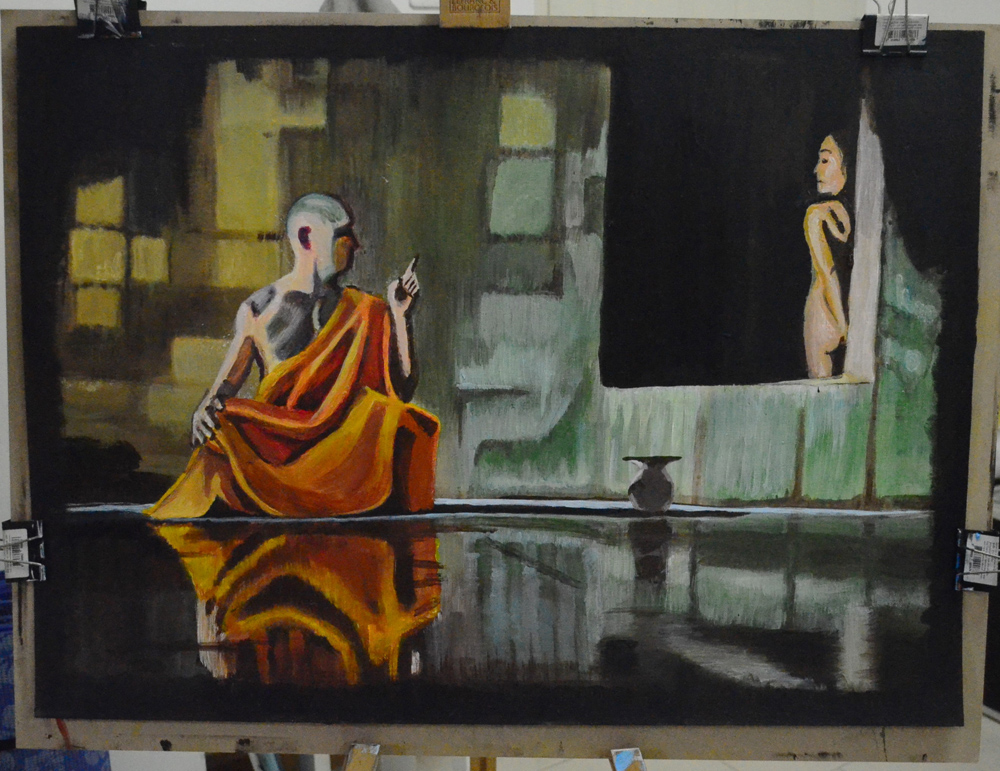
10 – Painting in the Second Figure

Once I had most of the reflections painted I set about painting in the second figure. At first I though about painting myself hising in the shadows with a lasso around the vase on floor attempting to pinch it, Then I thought about just a pair of evil eyes in the darkness but after another photo shoot with the girlfriend I decided on painting her standing in the shadows to depict the fight with the temptation that all men of the cloth in all religions must go through.


11 - Correcting the Pose

11 – Correcting the Pose

A this stage I realised the pose I had put myself in as the monk in the painting was just too weak and so resorting to looking athe photos I had taken earlier and the studies to see which would be a better pose I put together a mixture several poses.

Unfortunately then I had to spend a lot of time changing the reflections on the floor to suit the seated figure.


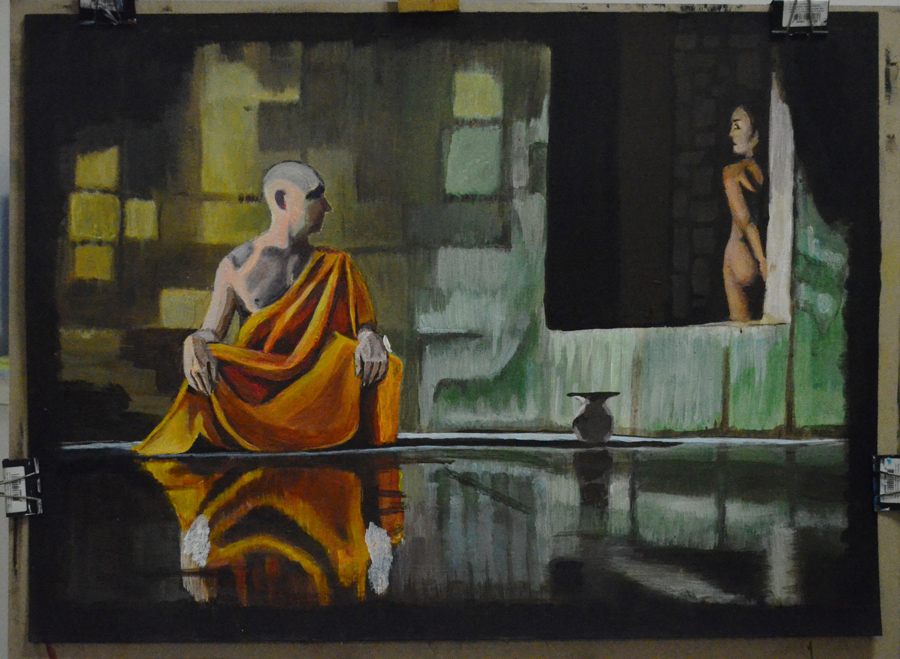
The Finished Painting

The finished painting was very time consuming. over a month with working 7 days and I still think that it is not really a finished piece but more of a study to something that I can can work on later.

My regrets are not working on the solo figures in the study rather than this larger scene as the solo figures were much stronger. The figures in the final piece seem weak, it was a great idea but it needed a lot more time to finish, this maybe something I will continue with but at this time I had to tell myself enough is enough so I can finish this course in time for submission.
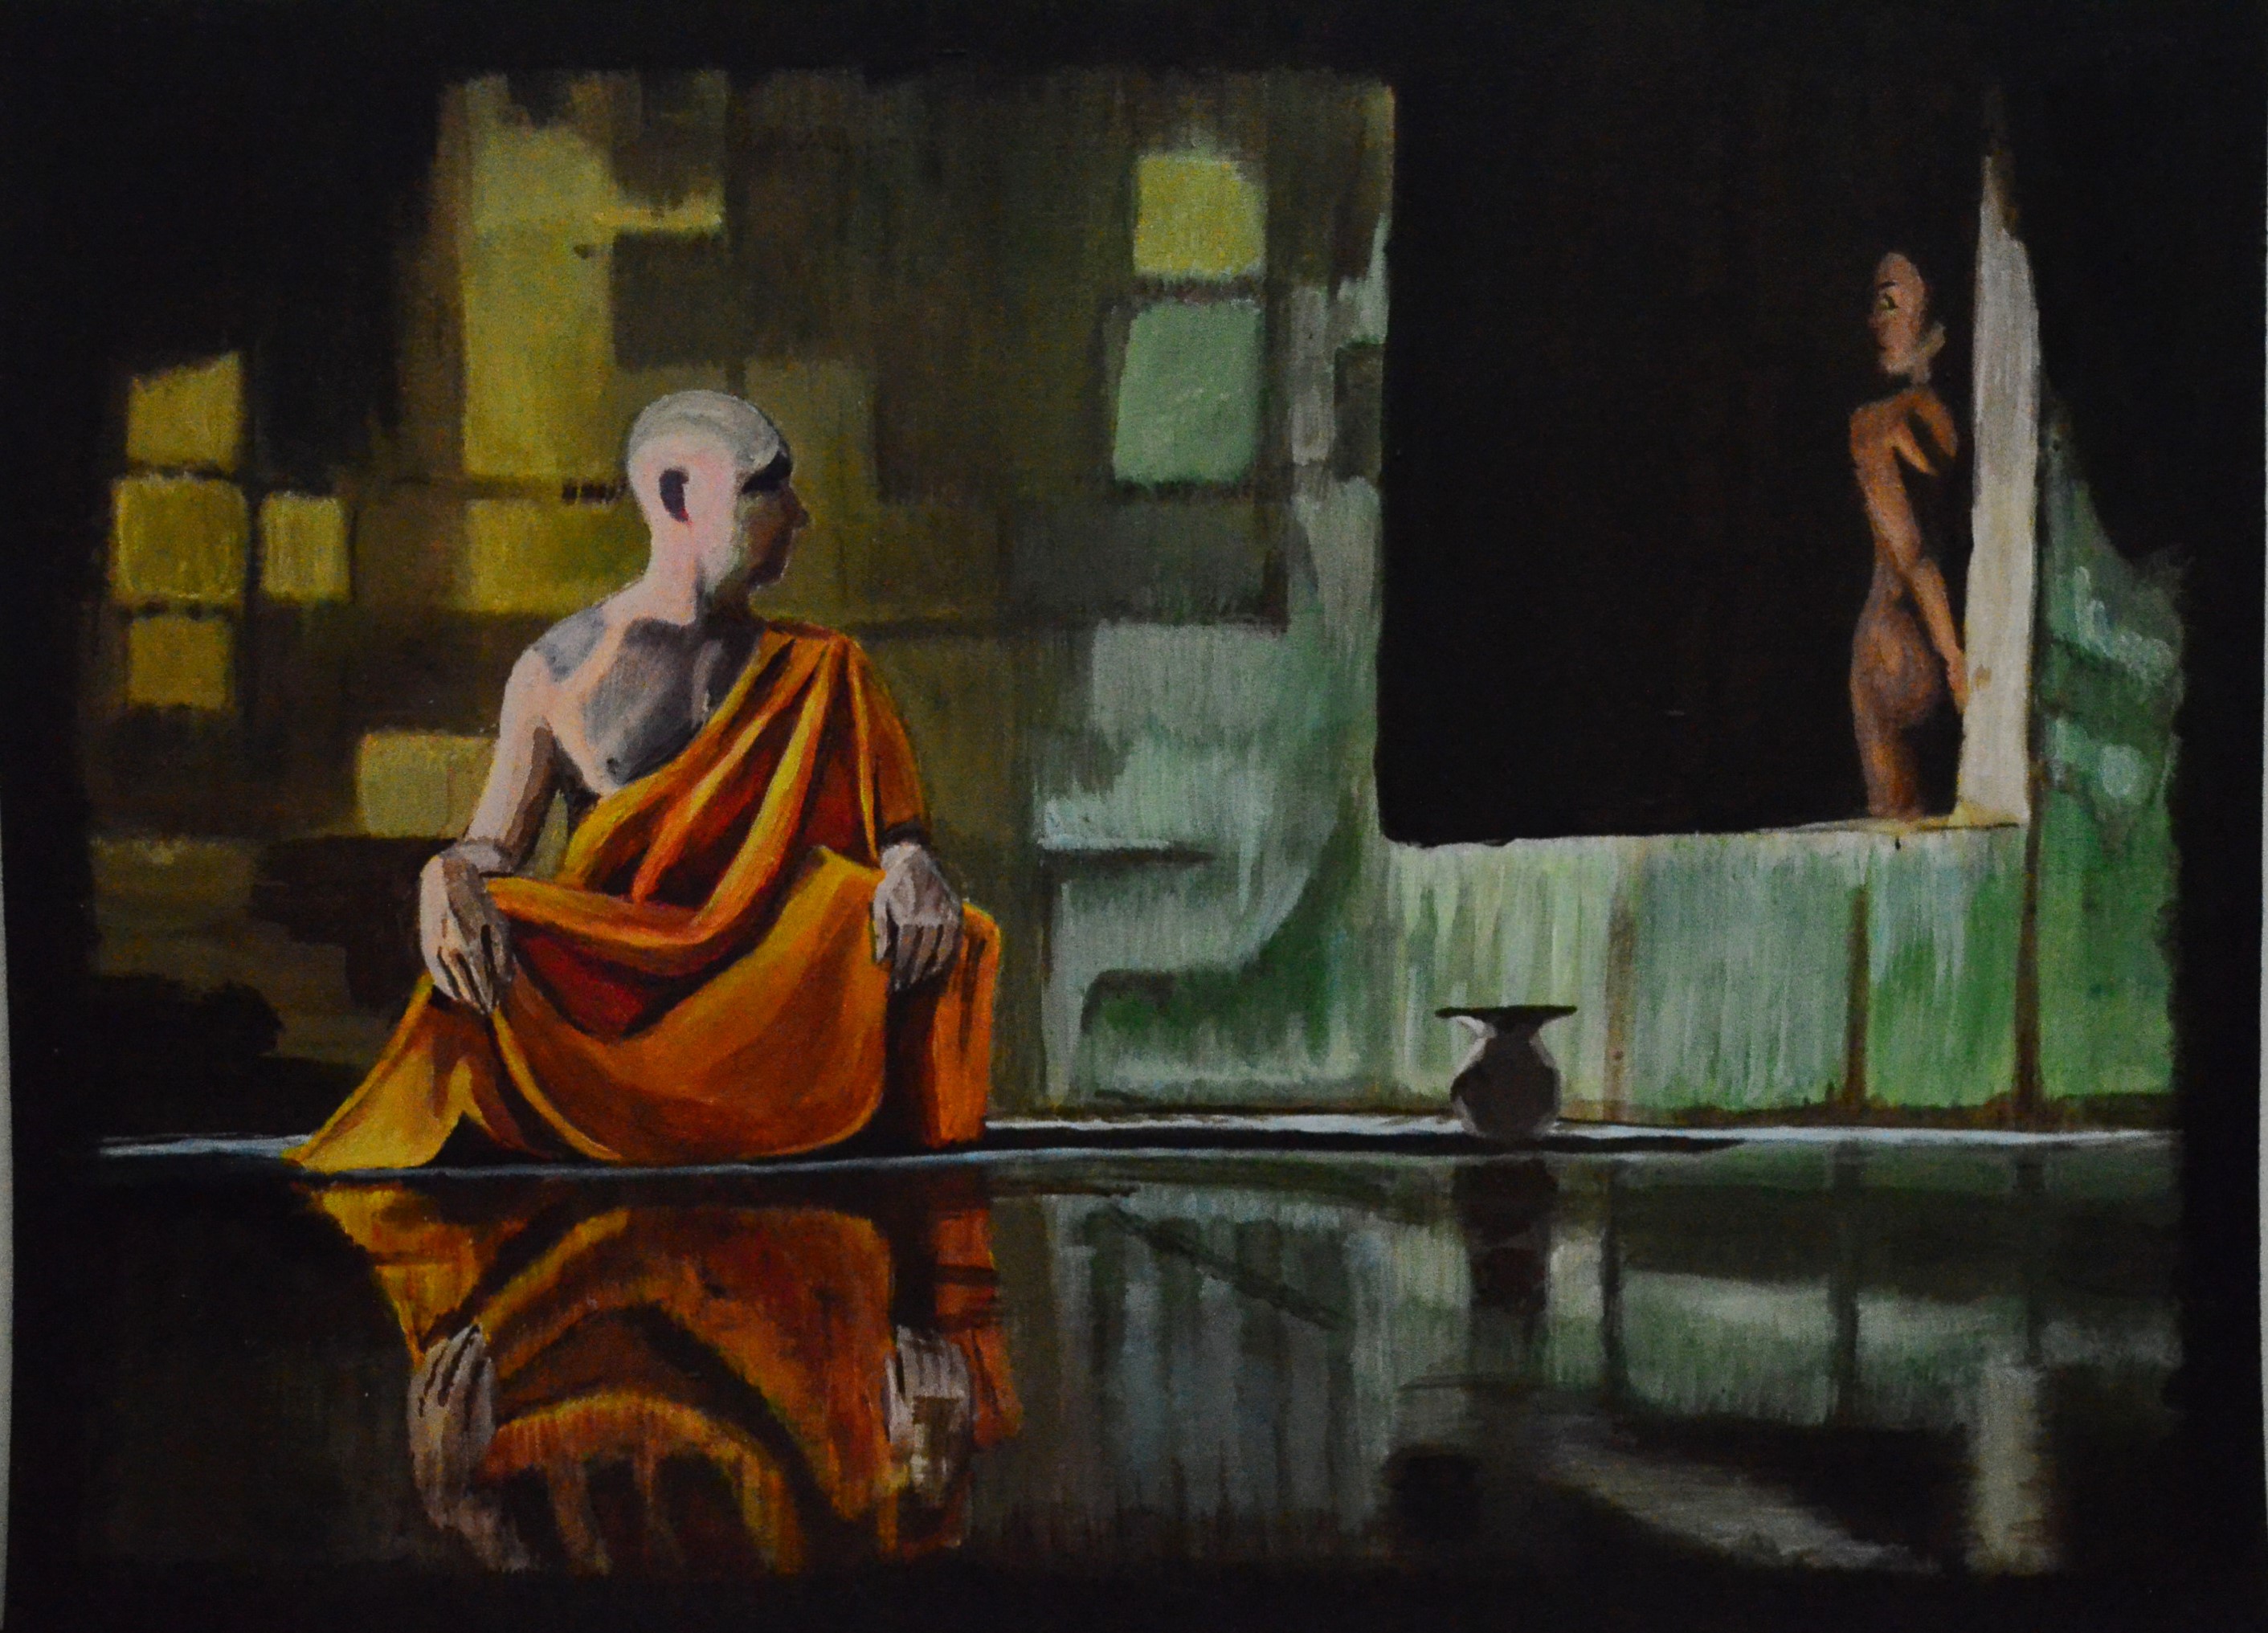
12 - Finished Piece

12 – Finished Piece

People in Context 2 – A Figure in an Interior

This was the first exercise of this project, however it was completed after the ‘Telling a Story’ exercise. The reason for me doing this was that the brief for this exercise gave me some interesting ideas and one was to put myself into multiple roles on the same canvas and so I was waiting for a tripod that I ordered.

Then things took a turn while I was doing a photo shoot with the girlfriend for part of the painting I was working on and stumbled upon this almost perfect pose with perfect surroundings and lighting that would help me demonstrate my painting skills and reflect on the previous research point.

At first I fancied painting something with subtle tones along the lines of Gwen John but with this change of circumstances I couldn’t get Hopper out of my brain.

It was late at night and I didn’t want to lose the pose so decided to take a photo and to work from the photo rather from life. The problem was I didn’t want to get back into the habit of producing paintings that were too realistic worrying whether that the painting was as precise as the photograph.

1 First Step - Underpainting

1 First Step – Underpainting

I looked at different techniques that would  help me to overcome this and stumbles across the phrase ‘Underpainting’ the technique itself was one that wasn’t new to me and was already one I had thought about using myself but I just didn’t have a name for it, I do now.

I had completed all previous exercises up to now on either Acrylic/Oil specialist paper or backing board prepared with Gesso. The latter warped a lot and to overcome this I painted the back of the board with a thin layer of paint so it would straighten out, the problem I had then was that paintings stick together when storing them away.  For this painting I decided to push the boat out and buy a canvas panel which are thin enough and light enough to send off for formal assessment.

2 First Step Completed

2 First Step Completed

I prep’d the canvas panel with Gezzo and then a coat of Burnt Umber a colour which I have begun to use more and more of. From there I begun the underpainting process in mizes of Burnt Umber, Mouse Grey and White.

I loved the completed underpainting so much that I actually thought about leaving it in those tones and cleaning it up to give it more sharper detail as a nod to Gillian Carnegie’s paintings but I decided to push on to add colour and detail.


3 Second Step - Adding Colour

3 Second Step – Adding Colour

With the next step I was too thorough and lost one thing that I really liked about the painting in the first step. Although the floor is made up of square ceramic tiles in the first picture you can see that it looks like floor boarding an effect that I would have liked to have kept but in the third photo it looks like a dull carpet, I would have to come back to this and try and recreate that effect.

The skin tones were quite hard to reproduce here and took several pigments mixed together to depict such as yellow, yellow ochre, orange and rose, at times you can see the individual colours that I layered over the top.


4 Third Step Adding Detail

4 Third Step Adding Detail


I added most of the detail, such as the light on the curtain (impasto), the face and shadows which were too dark and so the next step was to tone down which i would do by painting over them with thin layers of colour namely pink and yellow mixed with white.

By the now I had also repainted the floor which took almost three hours to get it to how I wanted it too look complete with the reflections from the light on the curtains.


5 Fifth Step - Adding Detail and Props

5 Fifth Step – Adding Detail and Props

I could have left it like this but the table was empty and didn’t look natural at all so from here I would add some of the items that were on the unkept table, a bottle of beer, a half empty glass, glue and some screwed up paper.

The bottle and glass were a challenge, I had never painted detail so small, the earlier Chiaroscuro exercises helped with this, particularly modelling the light around the glass.

6 Table Close Up

6 Table Close Up


Finished Painting

My thoughts on the final painting are that overall I thought I had done a pretty good job and it was enhanced by the texture of the canvas panel.

Shadows particularly on the figure are a bit hard, they were any way but they do look a bit harder in the painting, I’m not sure whether I should try and soften the lines up a bit or leave them as they are.

The feet are a bit deformed making them seem smaller, hopefully this wont be a focal point for anyone, I will not continue to mess these up and will leave them as they are,

7 Finished Piece

7 Finished Piece


People in Context 1 – Research Point – Figures in Interiors

Look at some paintings of figures in interiors from different periods and choose two or three pictures that particularly appeal to you. At least one of these should be from the twentieth or twenty-first century. Consider what you think the artists’ intentions are and look at the technical and creative solutions that they’ve brought to the subject.

Two artists that came straight to mind for this research point are two artists that I have already researched David Hockney and Edward Hopper.

David Hockney

Mr and Mrs. Clark and Percy david Hockney

Mr and Mrs. Clark and Percy David Hockney

The relationship between the figures in David Hockney’s paintings are not exactly clear as he separates them leaving you the name of the painting to work this out for yourself.  His subjects especially in his 1970’s paintings were often wealthy, and in Paintings such as Mr and Mrs. Clark and Percy (left) you do get the impression that they are wealthy professionals of some sort.

David Hokney My parents

David Hokney My parents

Linear perspective plays a big part in Hockney’s paintings. The subjects in his more familiar figures in interior paintings were often set in front of a flat back wall with a mat, table or chair painted in perspective to add depth to the painting. As well is this he also painted open doors or a view through a window to create depth.

David Hockney Card Players No1

David Hockney Card Players No1

When you look at the painting card players left you can see that he knew others were also aware of the linear perspective to his paintings. Here he reverses it adding a little confusion for the viewer.

Edward Hopper

Edward Hopper Morning Sun (1952)

Edward Hopper Morning Sun (1952)

Edward hopper’s paintings portray the loneliness of life in America at that time, a big country that like Thailand probably had a lot of folk from the country to the city for work, where they knew no one. To get this loneliness across he painted lonely figures in almost empty apartments using cold colours to depict bare walls and it worked.

Vadim Zanginian

While browsing through hundreds of paintings for this research pint I came across this Armenian artist who’s approach to painting this subject has really opened my my mind up. Vadim Zanginian paints with wild, wide brushstrokes that don’t allow you to focus on the interior behind the model even though you are well aware of it and the furniture in the room.

John Singer Sargent

The Model Interior with Standing Figure - John Singer Sargent

The Model Interior with Standing Figure – John Singer Sargent

A similar technique can be seen here in John Singer Sargent’s painting ‘The Model: Interior with Standing Figure’. This is probably one of the most beautiful paintings I have come across this year. At first glance I saw a wonderfully clear figure standing in front of a sketchy background with beautiful tones as I enlarged it I could see it was almost a tonal study, painted quite quickly or so it seems but very effective.

Pierre Bonnard

Pierre Bonnard - Model in Backlight

Pierre Bonnard – Model in Backlight

In the painting ‘Pierre Bonnard – Model in Backlight’ (left). The foreground and the model are solid but as you move towards the background the swirls of colour separated  by white spaces force you to see light shining through a window or patio door covered by a net curtain.