Tutor report
Overall Comments
You have worked hard throughout this first assignment, demonstrating a confident understanding of the possibilities of paint. Your exercises as well as your final piece are competent and show a good understanding of the use of glazing and colour mixing.
Your learning log is honest and reflective though you do need to increase the level of analysis, particularly in relation to other artists work.
Assessment potential (after Assignment 1)
You may want to get credit for your hard work and achievements with the OCA by formally submitting your work for assessment at the end of the module. More and more people are taking the idea of lifelong learning seriously by submitting their work for assessment but it is entirely up to you. We are just as keen to support you whether you study for pleasure or to gain qualifications. Please consider whether you want to put your work forward for assessment and let me know your decision when you submit Assignment 2. I can then give you feedback on how well your work meets the assessment requirements.
Feedback on assignment
Demonstration of technical and Visual Skills, Quality of Outcome, Demonstration of Creativity
I will comment on some of your exercises and then your final piece.
Getting to know your brushes

Getting to Know Your Brushes 2 – A Landscape from Memory
I can see you are already developing and improving your understanding of different types of brushes and the marks they make as you work through these simple exercises. Your first attempt at a landscape from memory combines small, repeated mark making with broader brush strokes. This works particularly well where you layer opaque colour over transparent glazes. The results are a little crude in places but that is partly the nature of the exercise. The second attempt has a more naturalistic feel and the trees are clumped together more authentically with subtle sense of movement amongst the branches. The repeated pattern of brushmarks used to describe grasses in the foreground is not entirely convincing. Be wary of generalising as this can make an image look stylised. Having said that

Getting to Know Your Brushes 3 – Painting Fruit
you are painting from memory and this type of mark making is more likely to happen when not observing detail directly.
The pineapple is well executed. Here you achieve a surface texture which contrasts well with the bold, angular leaves. The confident shadow beneath the fruit works well as does the more subtle, grey shadow against the wall.
Applying paint without brushes
Here you experiment with a good range of materials and techniques and produce a series of interesting and playful pieces. I particularly like the effects of using a toothbrush and painting knife.
Painting with pastels

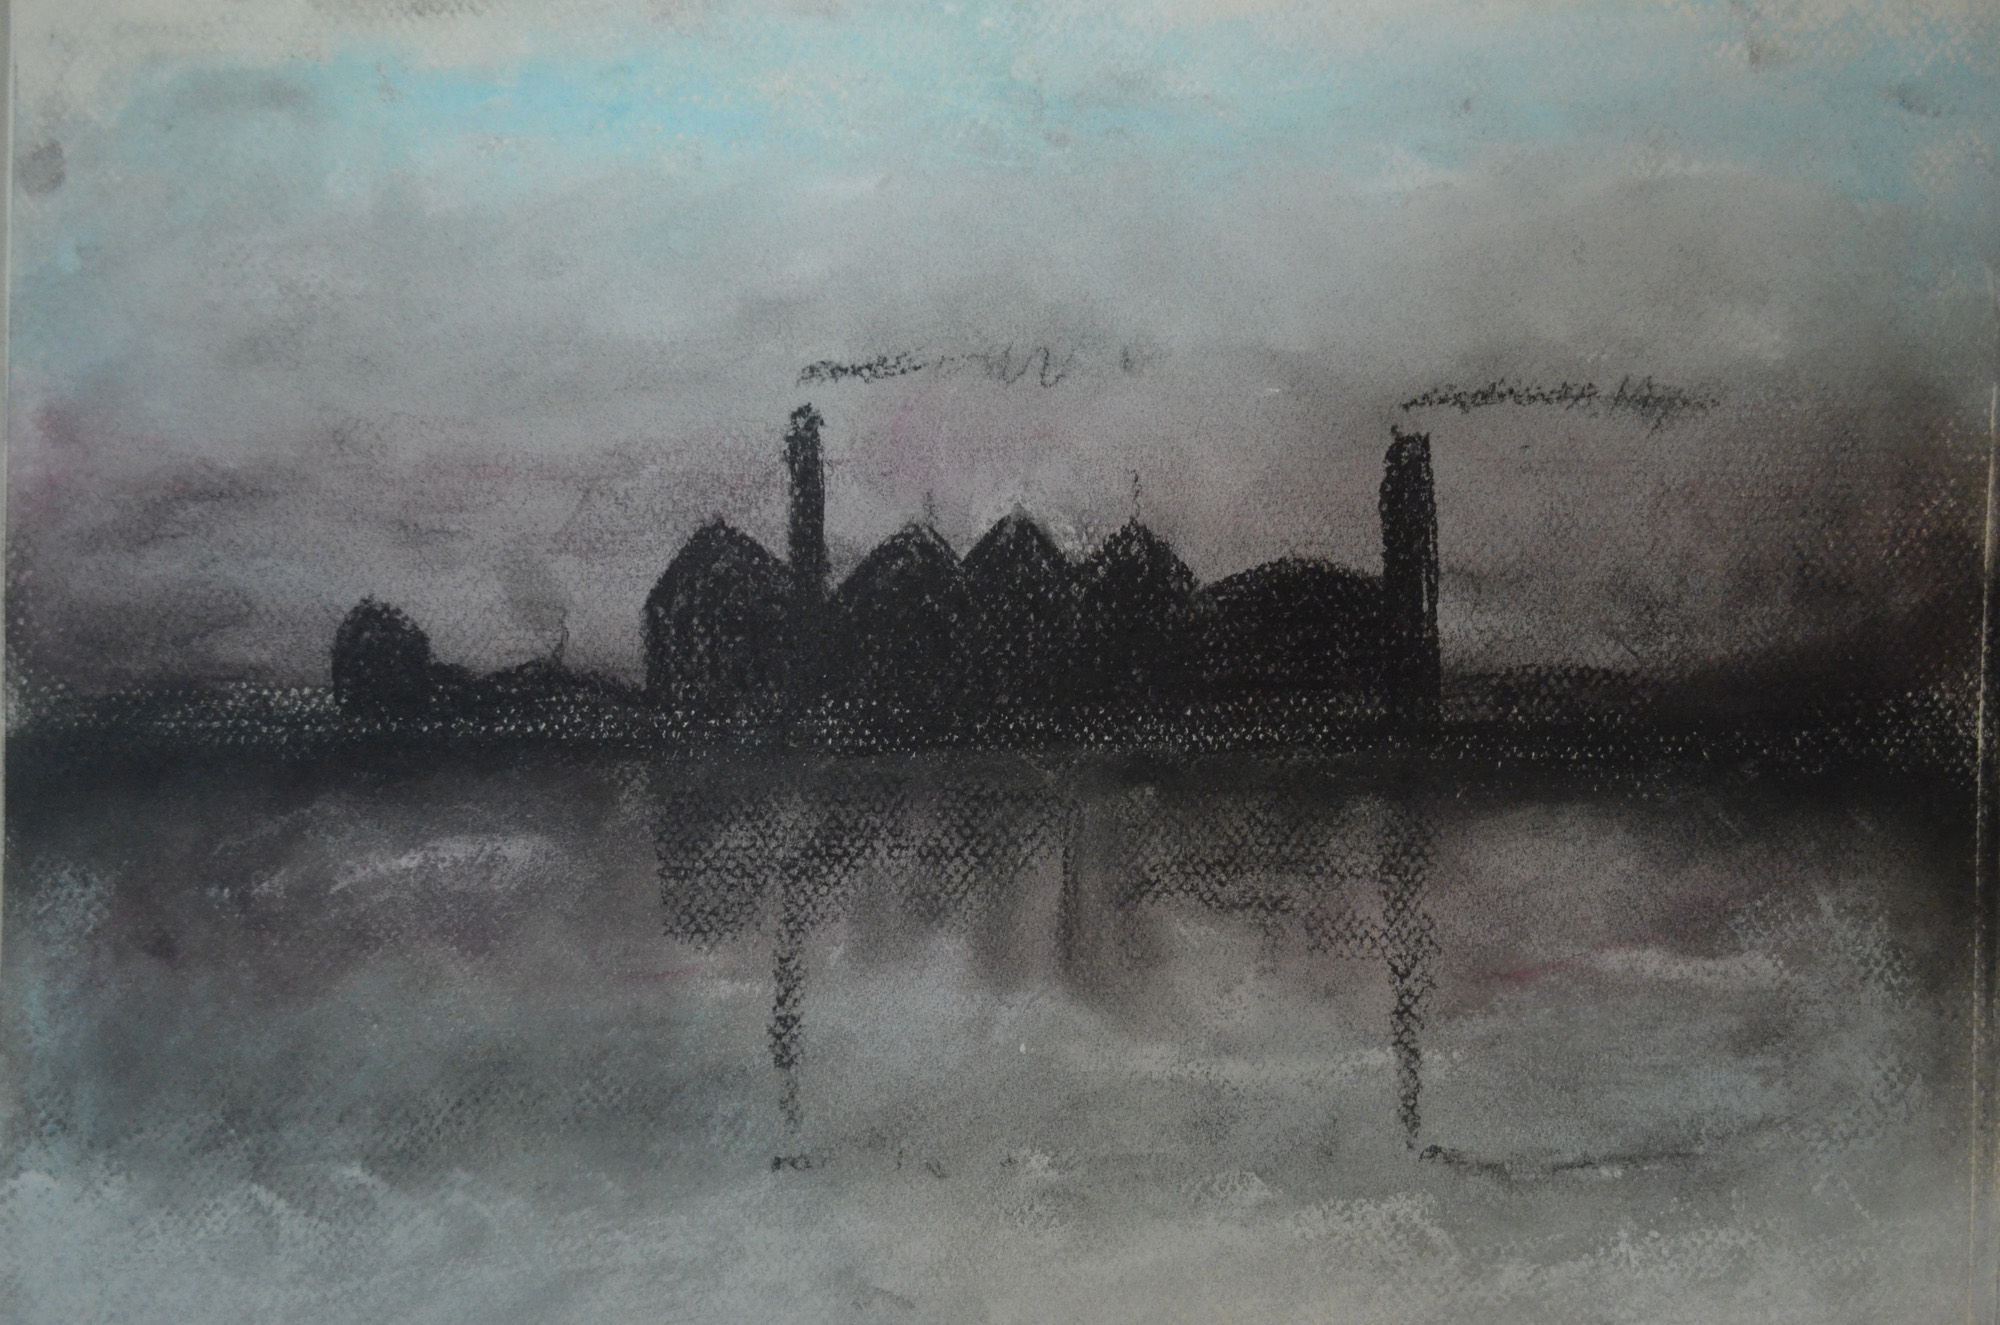
A Simple Drawing with Soft Pastels
Pastels can be difficult to manipulate without overworking so I think you were right to keep it simple with your dark urban landscape, where you have created a sombre atmosphere and avoided detail.
You have also managed to achieve sensitive results with oil pastel which is partly due to your decision to add solvent. This has softened edges and prevented the build up of pastel which can easily happen.You have managed to achieve a degree of luminosity where you describe the skin and have been careful not to over emphasise the facial features.
Monochrome studies
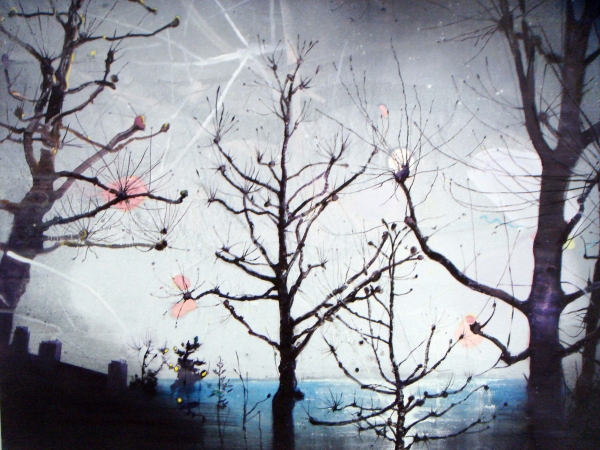
 You would probably have achieved better results if you had used an observational drawing from life or even a photograph you had taken yourself. This would have meant you had really looked and had some personal connection with it, whereas here the subject is rather stylised and unconvincing. Online images can of course be useful for research but a generic image of a winter tree is not going to inspire great paintings. However, I do realise this is a simple exercise about positive and negative space and you are right to note that these two techniques could be effective if both are combined in a painting.
Unfortunately here there are no winter trees in Thailand as the trees are green all year round. It’s for exercises like this that I wish I was in England.
Overlaying washes/ tonally graded wash
All of your washes are well executed and demonstrate a confident ability to control the application of fluid layers of paint.
Tonal study on light ground

Tonal Study on a White Ground
Here you successfully depict a good range of tones from light to dark, avoiding harsh contrasts and keeping your subtle grey/green palette fresh and clean. This suggests you didn’t labour over this piece though you have included the right amount of detail to give the objects presence.The subtle reflections across the table work well, as does the texture of the apple. You are thoughtfully employing a range of techniques that you have experimented with in previous exercises. I don’t agree with your comment that the dilute yellow ochre ground was a mistake as this has added warmth and depth. The results may have been rather cold and less interesting if you had started with a grey wash. However, I would suggest you avoid mixing colour with titanium white as it is very opaque and overpowering. Add the more transparent zinc white instead as this allows colour to retain a degree of vibrancy, even when tinted quite significantly.
All the art supplies here in Bangkok only supply Titanium white, this led me to believe that you could only get Titanium white in Acrylics. For now I shall try tone it down until I purchase some on the internet.
Tonal study on dark ground

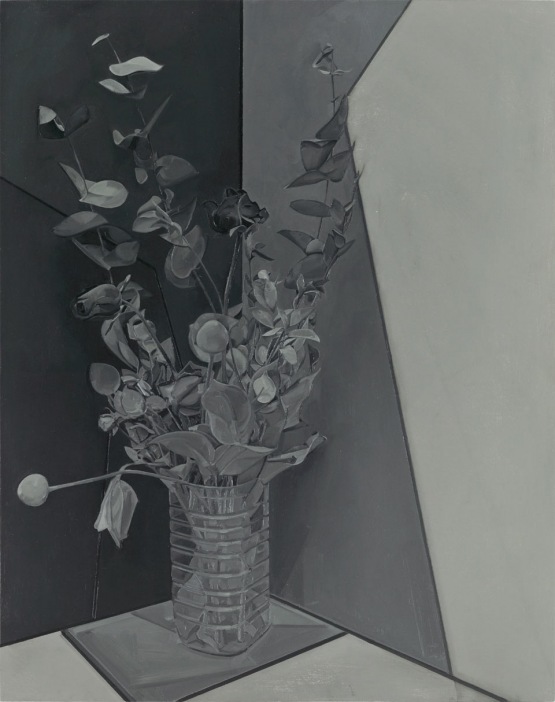
Finished Study on dark Ground
Another successful study. Again, the light and shadow across the table are well rendered though the white highlights across the vase and bottle lid should have been softened slightly and made one or two tones darker. The composition is a more satisfying arrangement than the previous piece though I do prefer the paler study with the more sensitive handling of paint. It is good that you decided to try a slightly different approach for both pieces and the results are confident.
Final piece

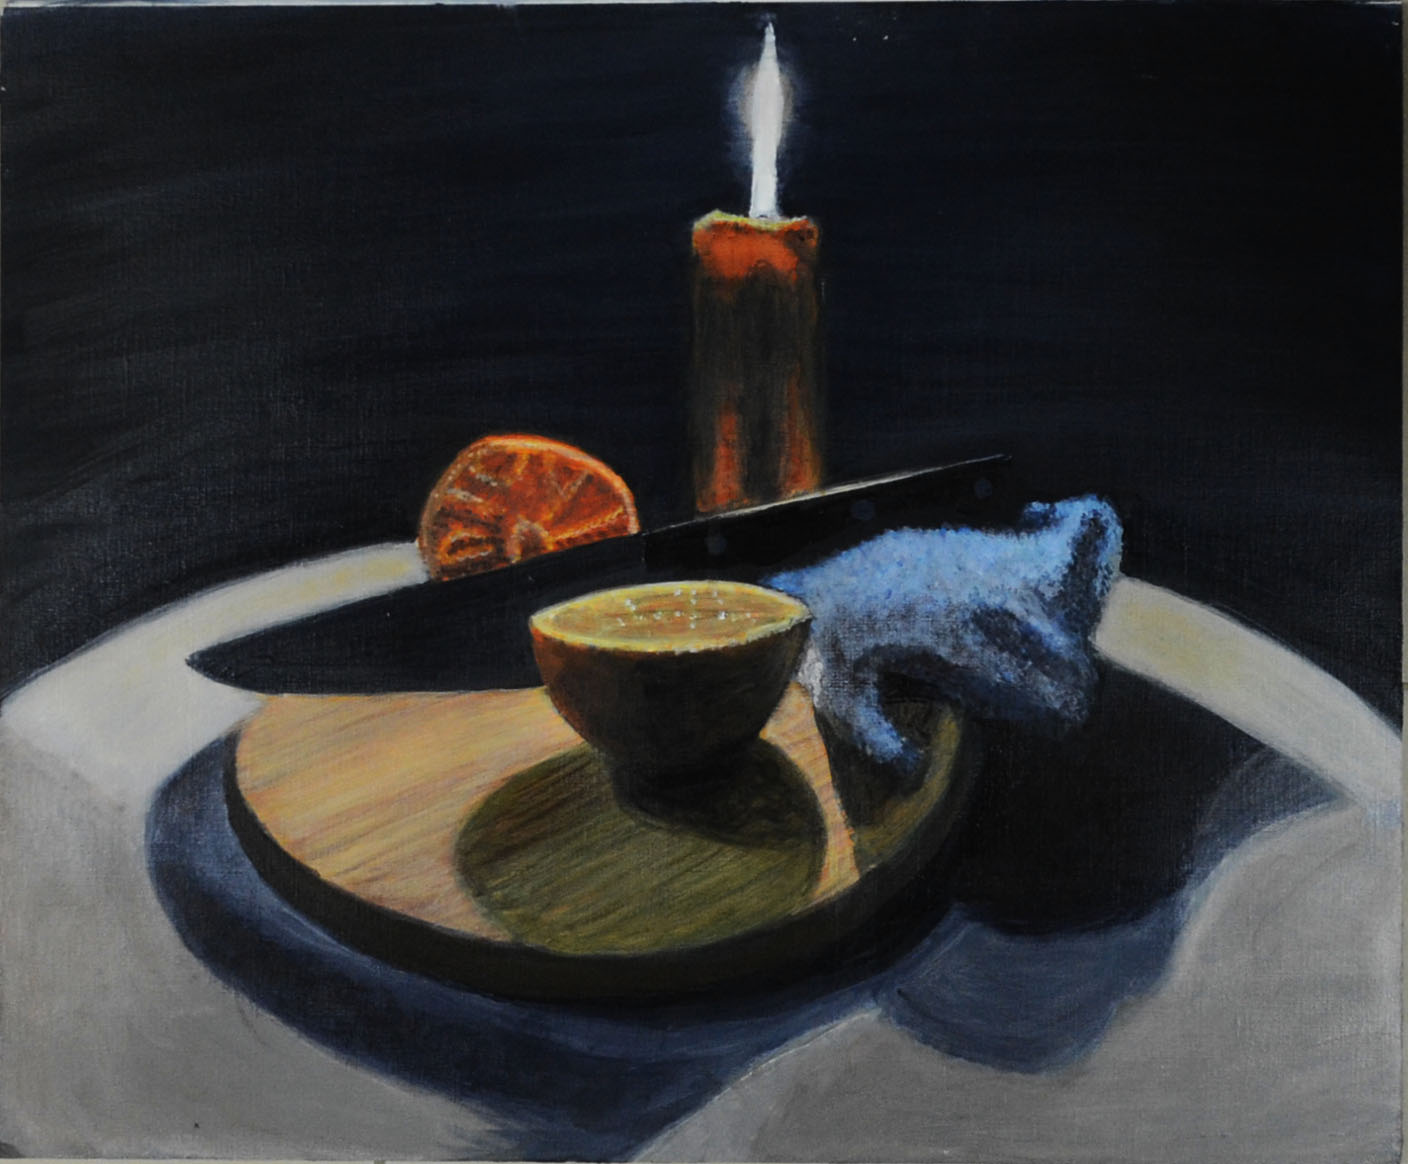
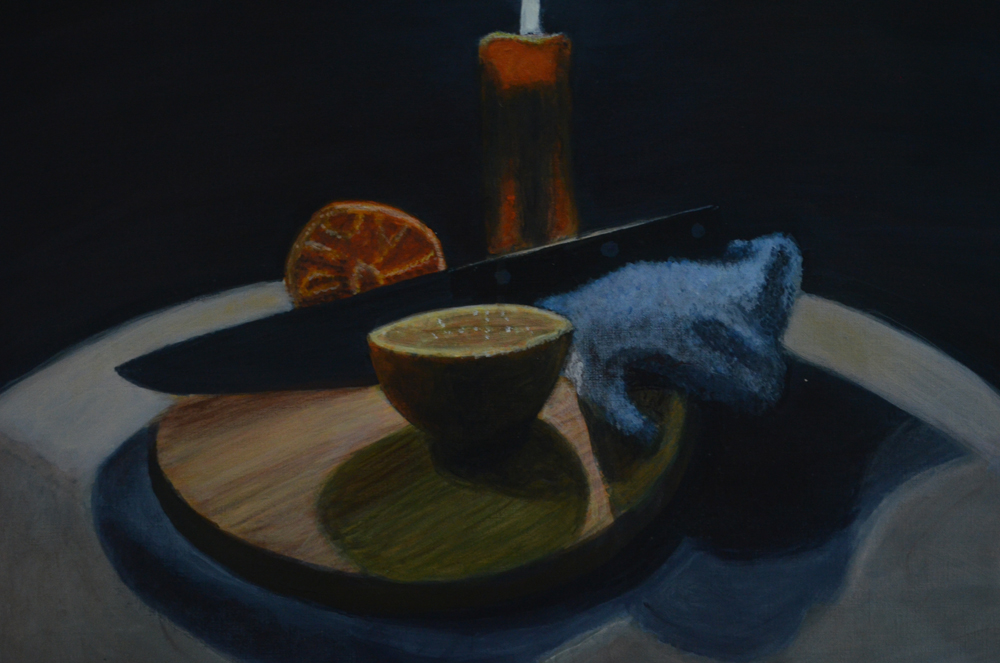
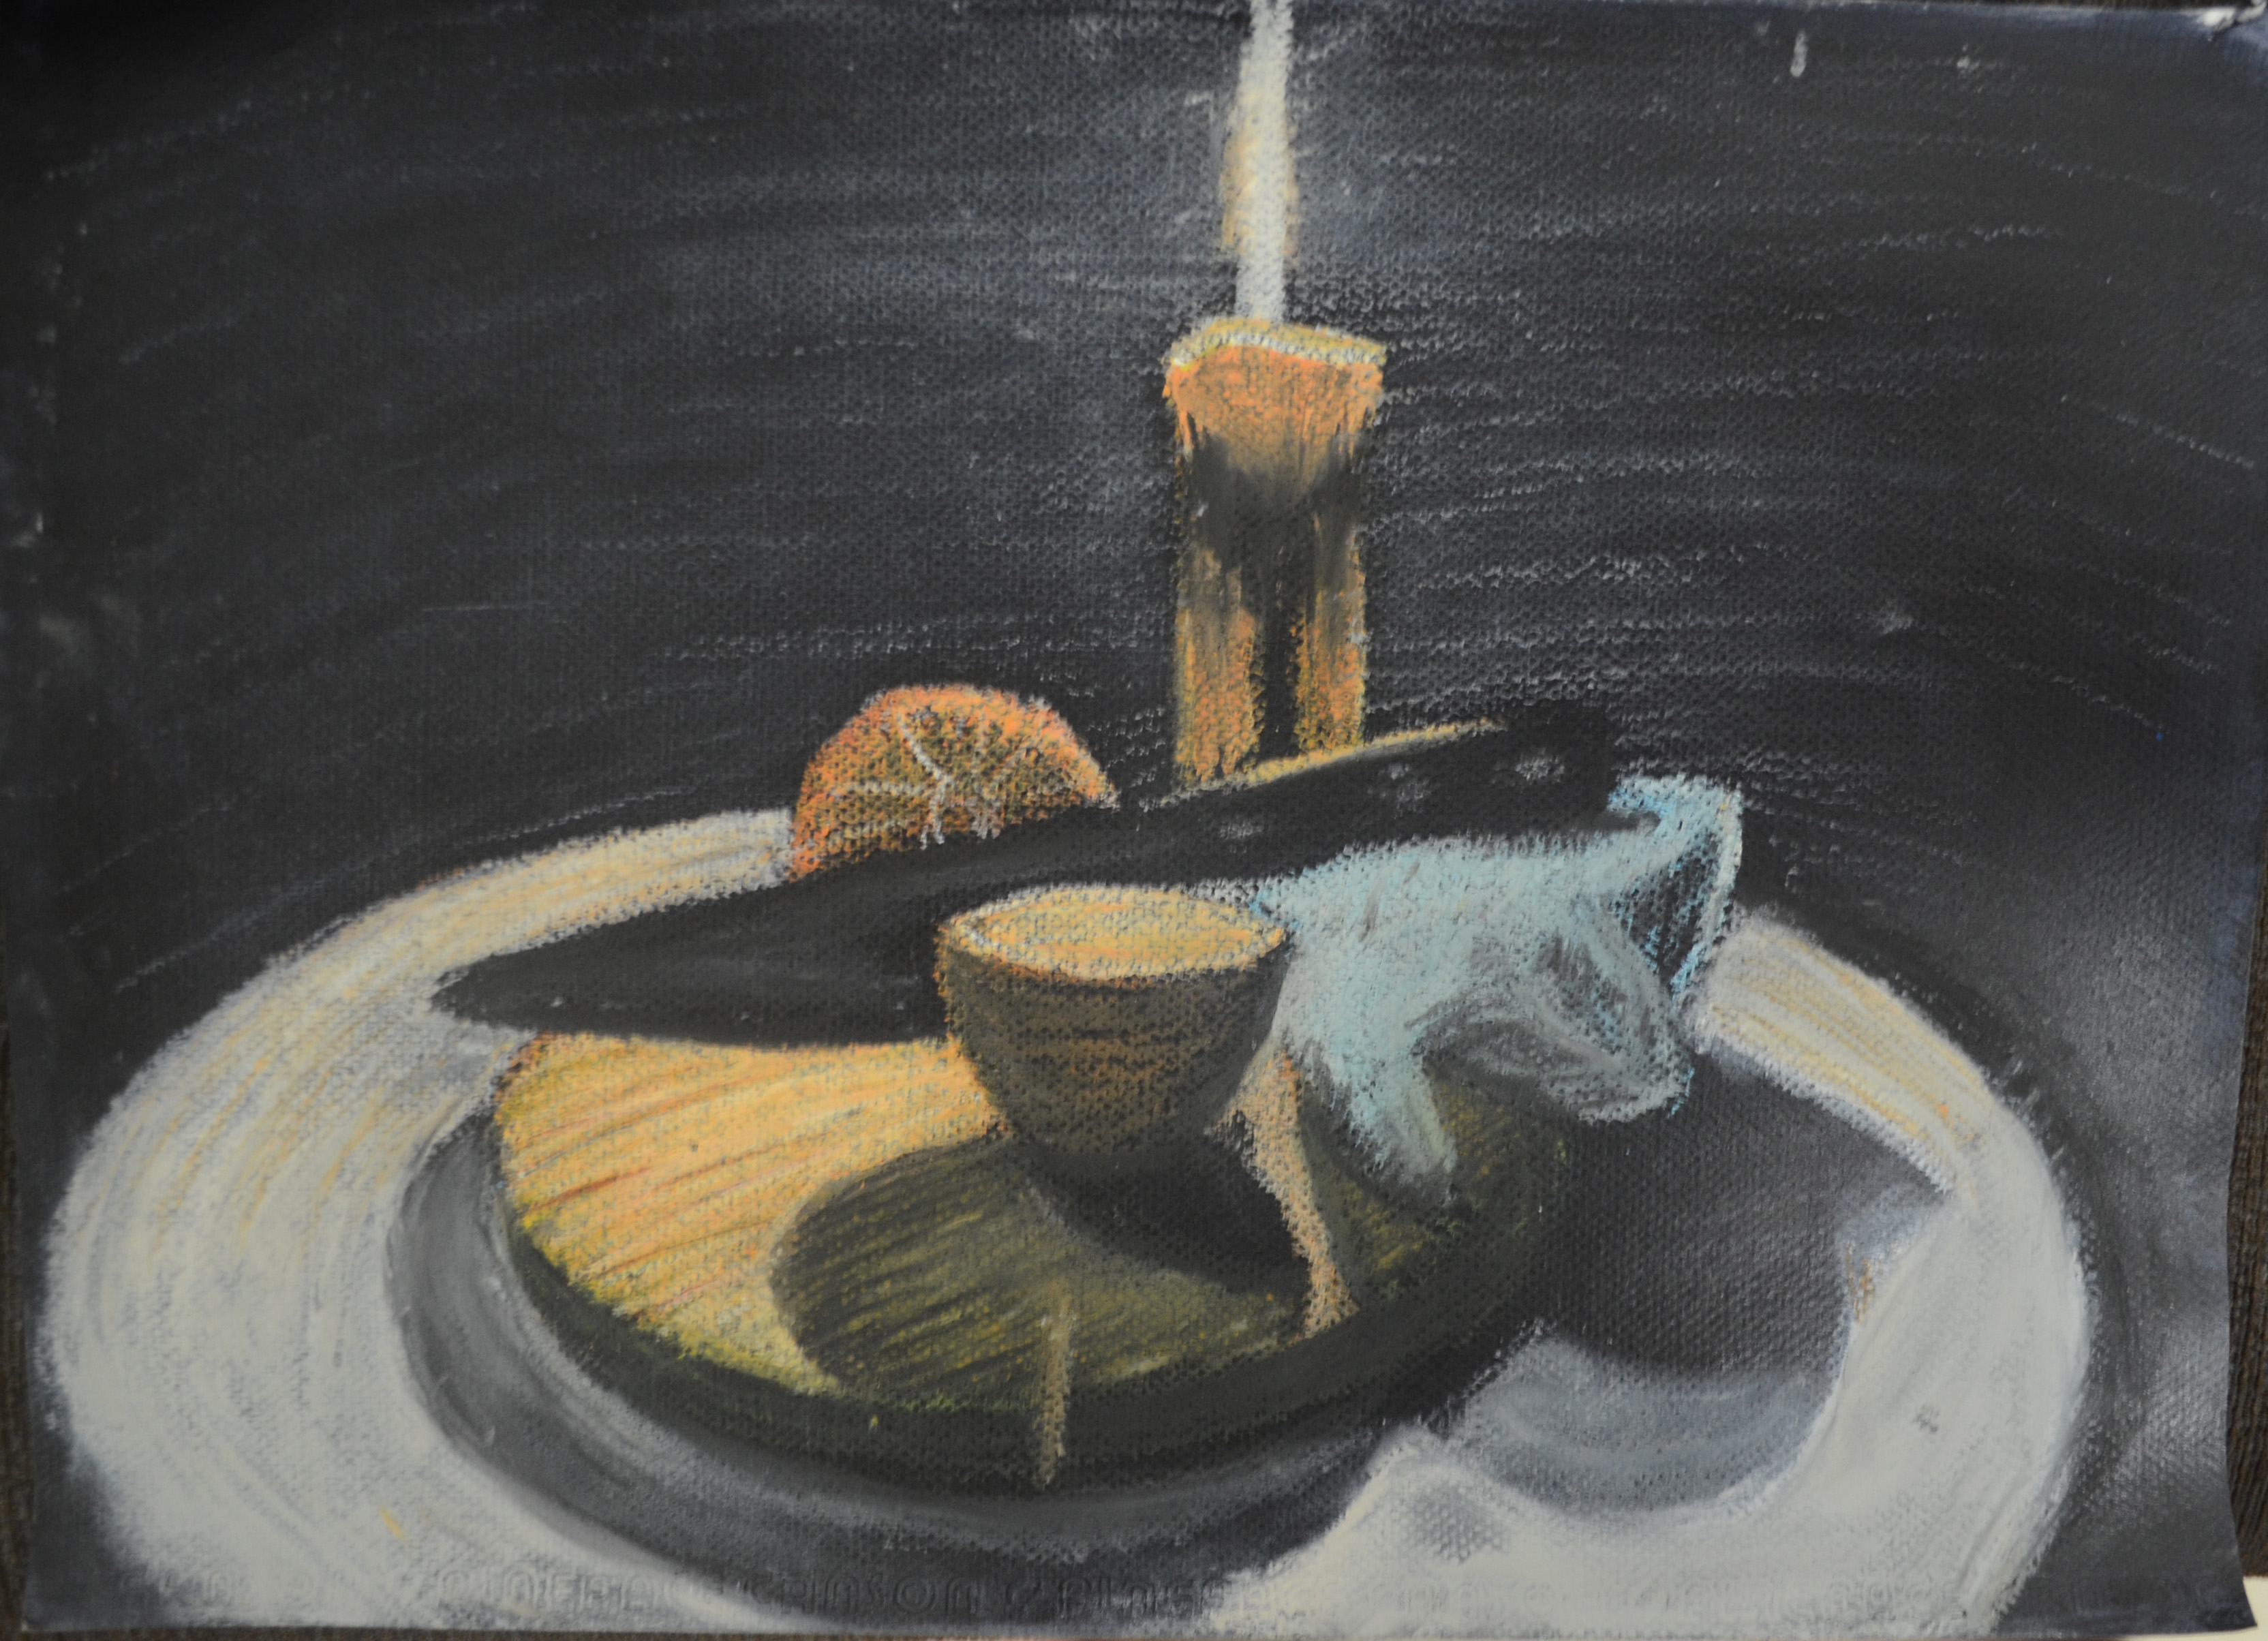
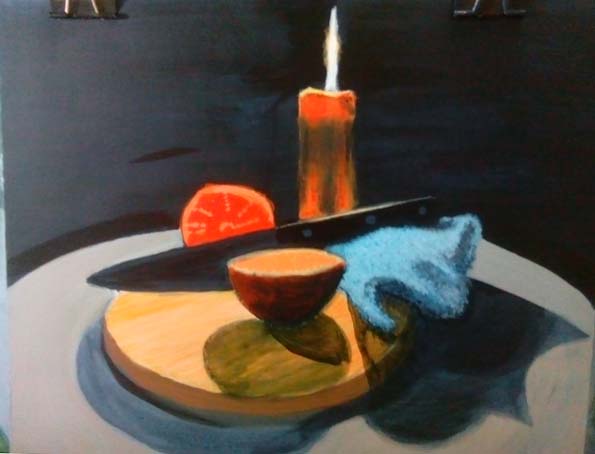
Final Piece for Assignment 1
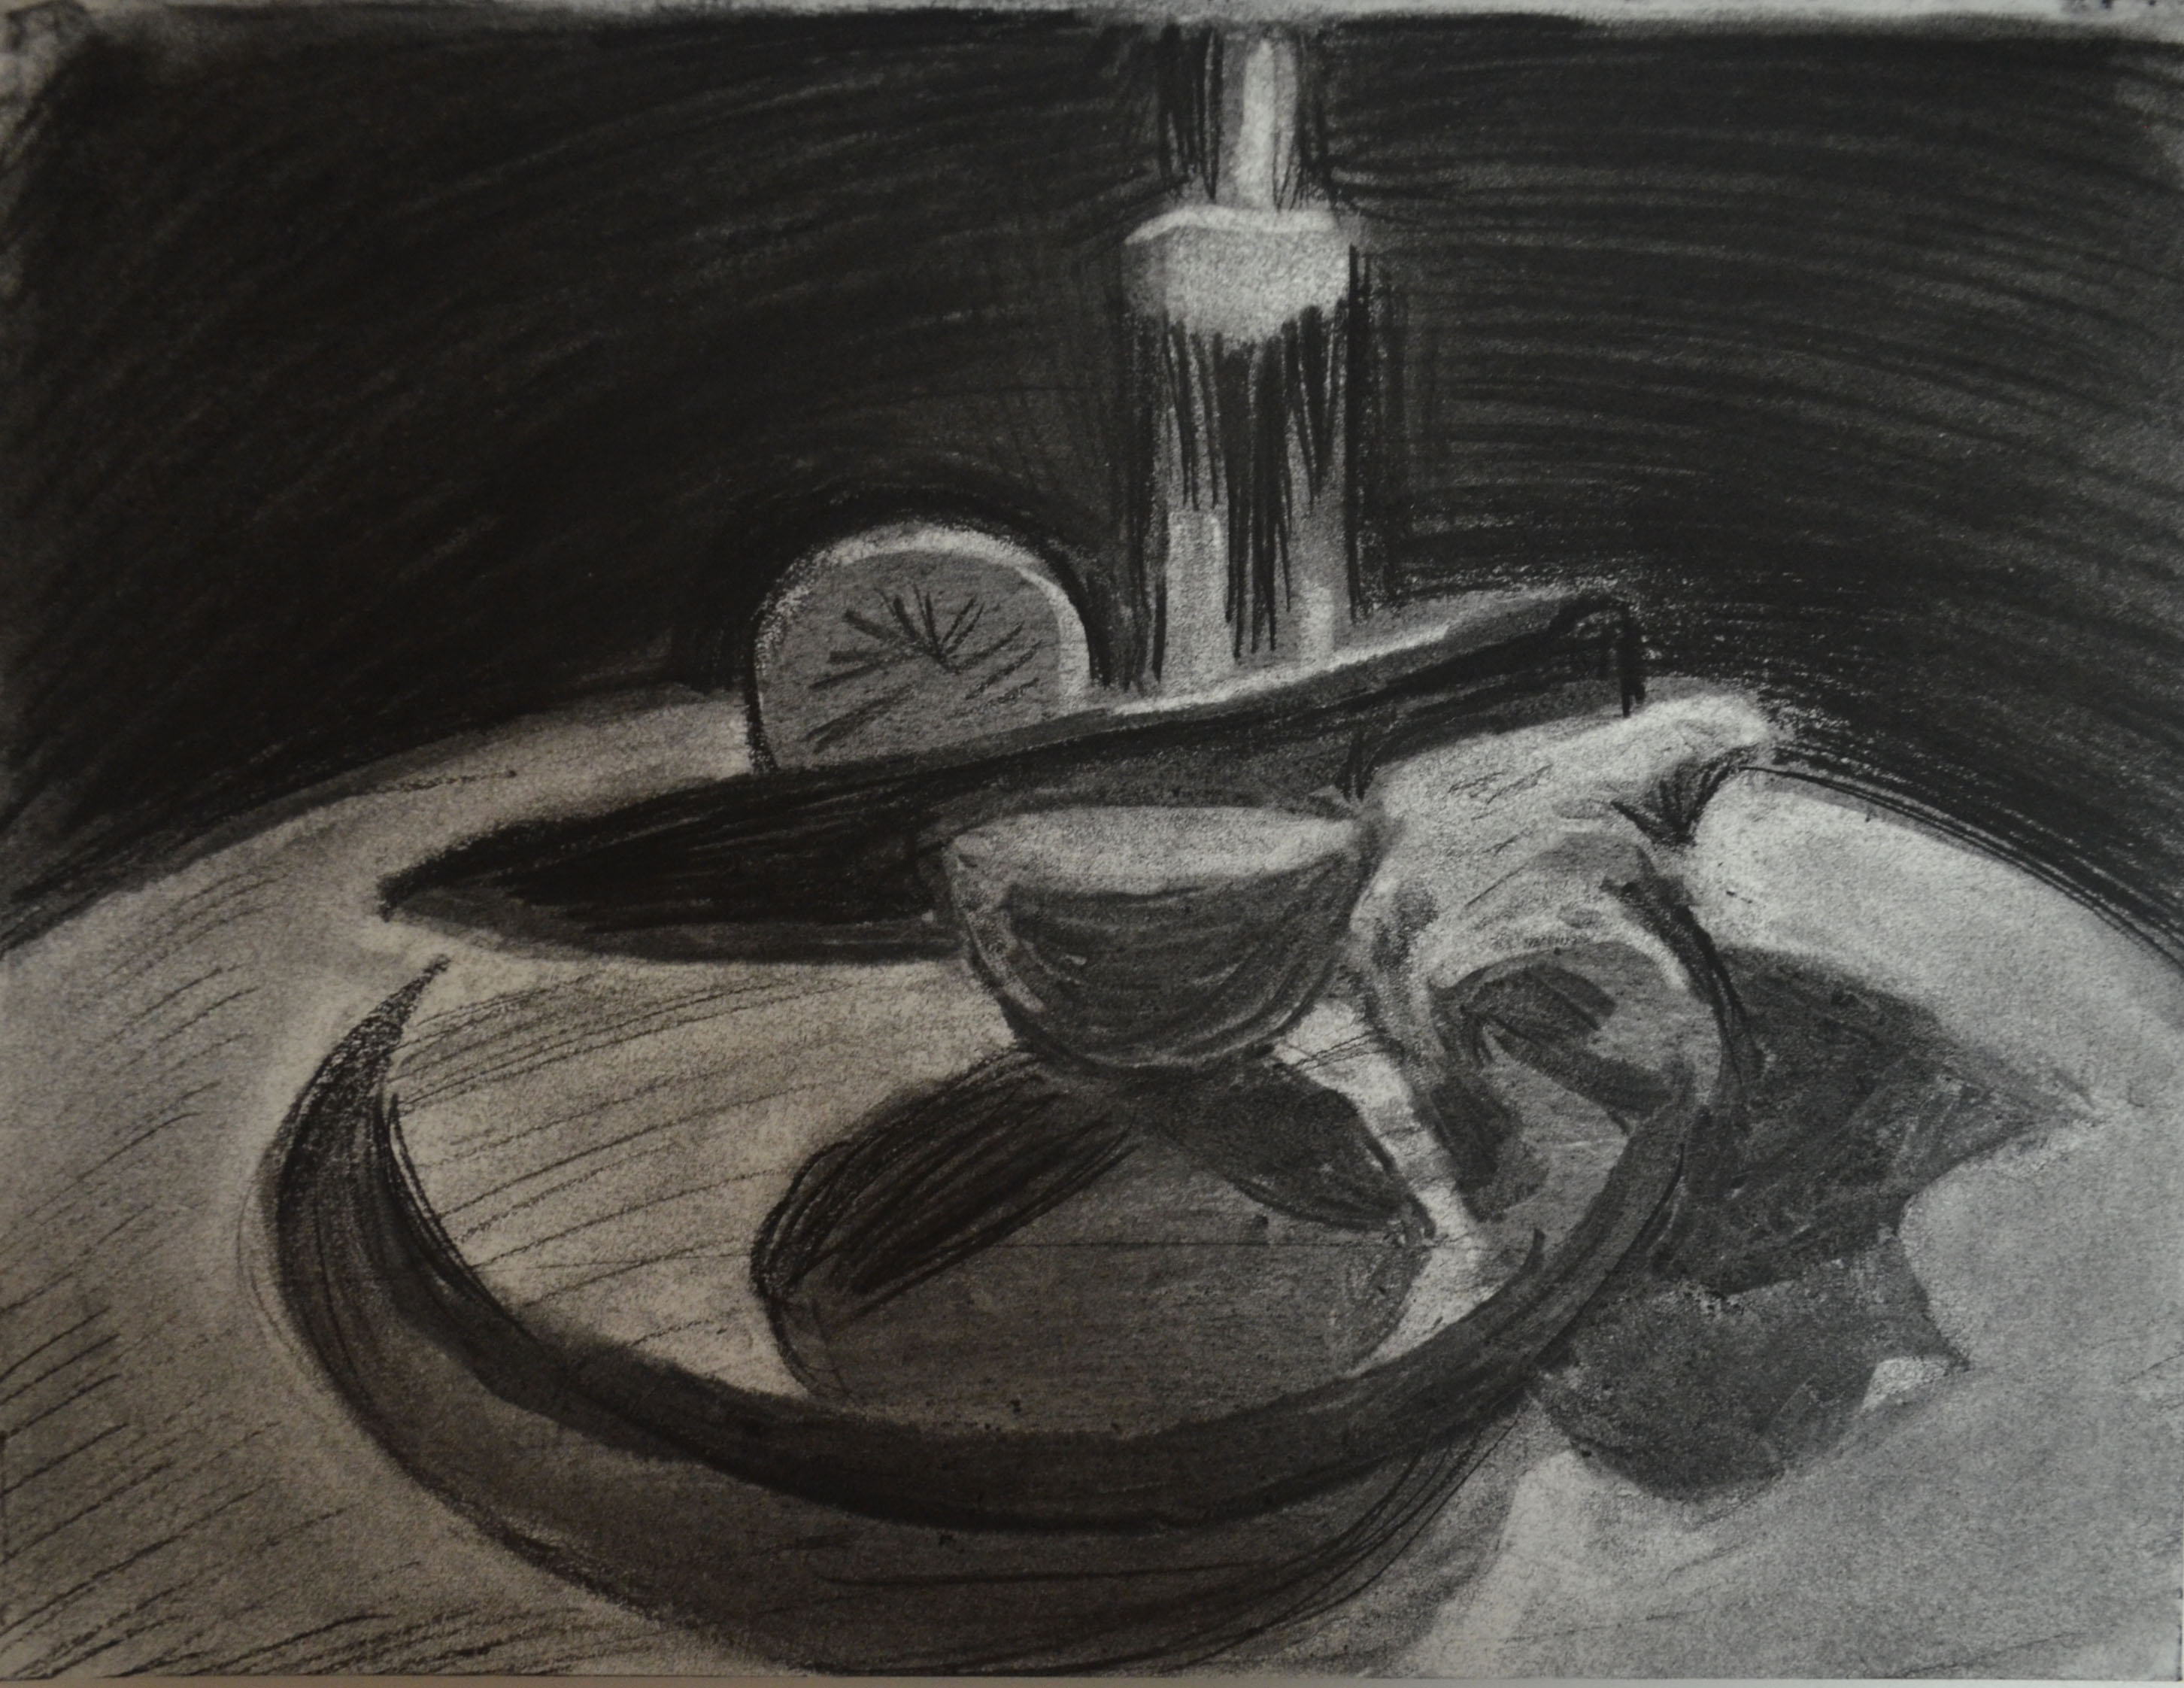
You have prepared well for this final piece, making charcoal and oil pastel sketches to help you arrive at a pleasing composition.
The results are well balanced with a good combination of texture and mark making. There needs to be more shadow where the knife meets the chopping board, this looks a little flat but elsewhere, bold, unusual shapes of shadows add visual interest. I agree with your decision to add a glaze of burnt umber at the end. This adds depth and the blue background looked too obvious next to the orange. Complimentary colours clearly work well together but I think it is best to avoid relying on them in painting and instead use colour more imaginatively.

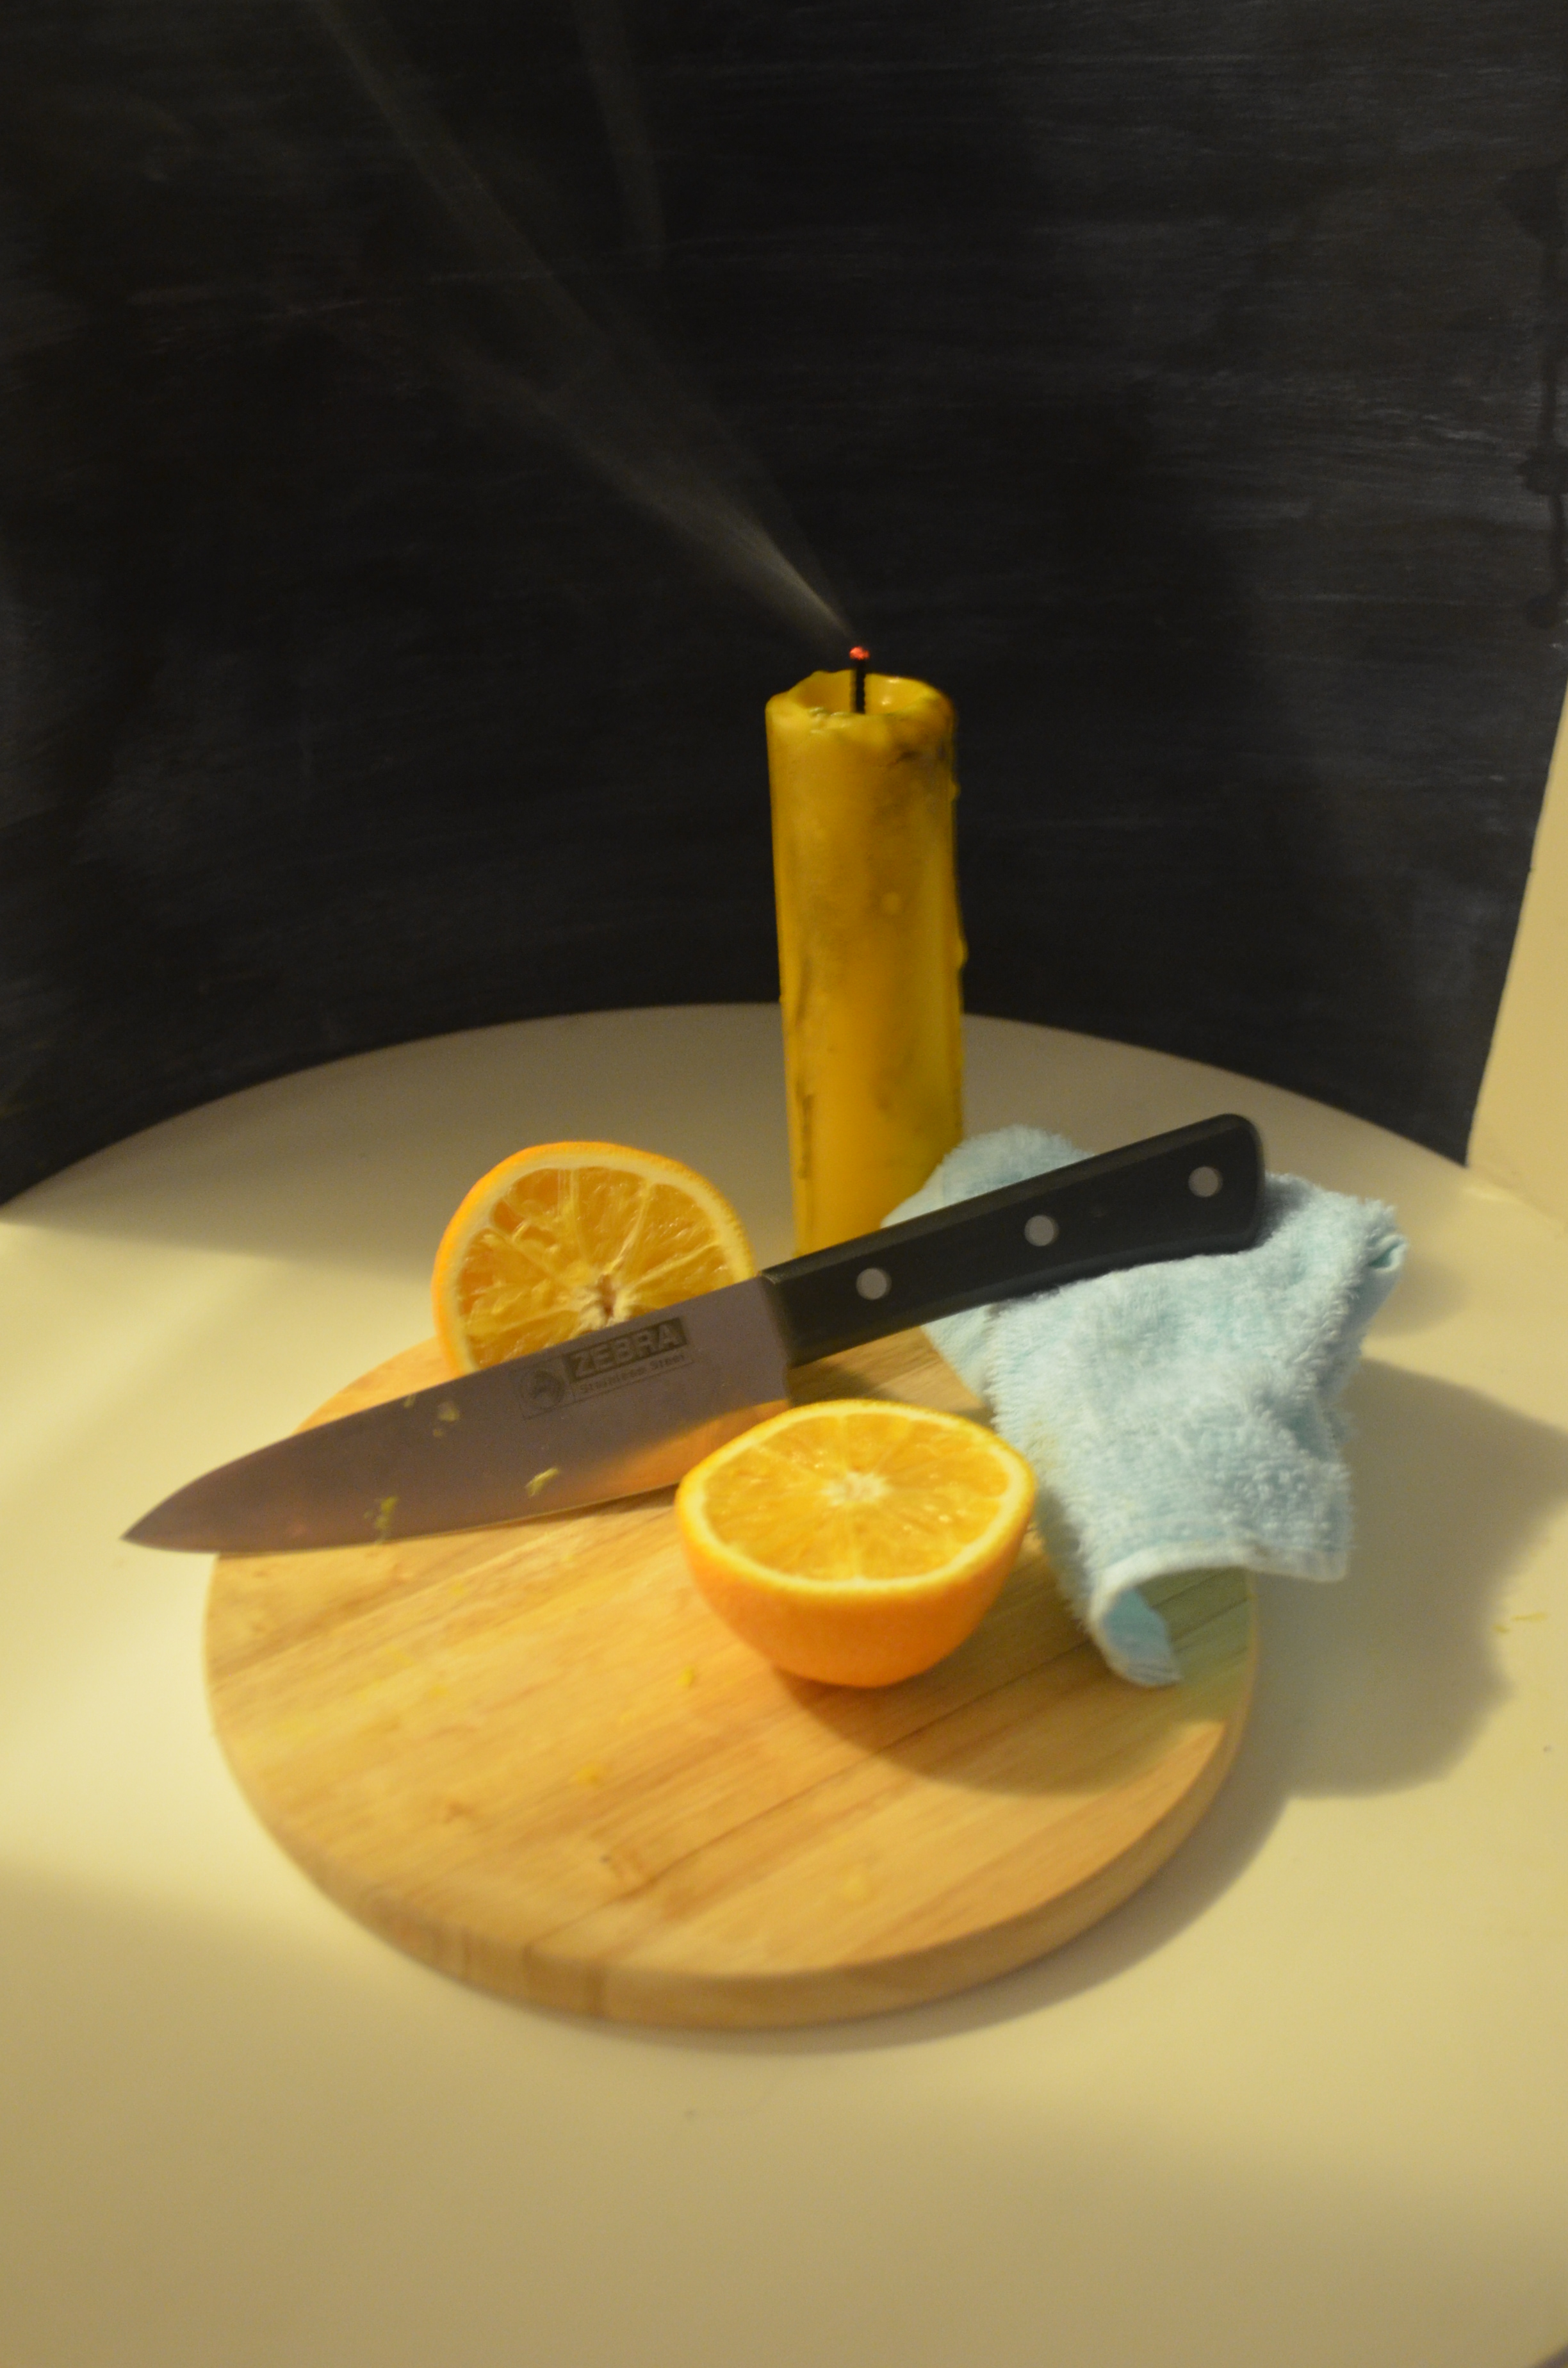
shadows added
Looking at the half way point image there are one or two qualities here that have got lost in the final piece. You were right to want to tone down the colour and I appreciate your interest in adding dramatic lighting but there is some overworking. For instance, the cut orange behind the knife at it’s earlier stage does have a vibrancy and an economy of mark making that works well. The same applies to the candle.
I added shadows to where the edge of the knife meets the chopping board and I am very happy with the result. It now actually looks real.
Overall, you have completed a successful final piece that is the result of careful planning and a methodical approach – building up layers of colour and combining techniques you have explored in the previous exercises. You will be encouraged to experiment more as you continue working through the course and I would like to see more inventive compositions but this is a very good start.
Sketchbooks
Demonstration of technical and Visual Skills, Demonstration of Creativity
I have only seen a few pages from your sketchbook so don’t know how extensively you are using it. You seem to favour charcoal which you use with confidence but get into the habit of making quick sketches in watercolour, ink and acrylic. This will help build your confidence as well as your observational skills. And don’t be afraid to stray from the course material and sketch anything that inspires you. Sketchbooks are personal and a good place try things out and make mistakes.
I have started to use my sketchbooks a lot more now. I kept a small sketchbook that I started a small project in . This sketchbook was kept for quick self portraits and to spur me on I got kids at school to draw their self portraits in it with a choice of mediums and I drew my own self portrait next to them in the same medium. Sometimes the result of this was a collaboration like the page below. Unfortunately I left it in a taxi with my tablet and the taxi driver refused to answer the phone so I never got it back. Time to start again. Luckily I did take photographs with my phone.

self portrait on kids drawing 2
Learning Logs or Blogs/Critical essays
Context
You are reflecting on your own development with honesty and evaluating the outcome of the various project exercises and considering how best to improve. Your approach to making work is conscientious and thoughtful. You should aim to increase the level of analysis, particularly in relation to the work of other artists and you are adding too much biographical information. I don’t need to read about the life of Rothko but I am interested in how you respond to his work and what you can learn from looking at it.
Suggested reading/viewing
Context
Look at the tree paintings of Elizabeth Magill. She combines an interesting range of techniques to evoke a slightly otherworldly sense of landscape. It is her use of transparent glazes beneath twisted tree forms that you might find interesting. Gillian Carnegie paints beautiful, tonal still life paintings that have a contemporary edge. Look at her flower paintings and the way her limited palette emphasizes form and tone. If you haven’t already, it might be worth investing in the book ‘vitamin P, perspectives in painting’ as it’s an extremely good survey of contemporary artists working with paint.
Also look at the work of Peter Doig and the still life paintings of Luc Tuymans, Morandi, Cezanne and Bonnard.
Pointers for the next assignment
Here you will have the opportunity to explore the possibilities of colour in more detail. You are already showing a good awareness of colour mixing and you will benefit from taking this further with this project. Try to resist the temptation to tighten up but allow yourself to be ambitious with the exercises, experimenting with a range of styles and processes. Also explore more unconventional compositions. As I’ve already mentioned, get into the habit of making quick colour studies in your sketchbook and avoid the use of titanium white.