
I had no prior knowledge of paintng brushes or their names before this exercise. I had only ever used a cheap round synthetic brush for stippling.
The brief for this exercise:
Part A : Start by exploring the range of marks and shapes that can be made with your brushes, make marks of different sizes, using flats, rounds and filberts.
materials used:
- Canson XL Mixed media pad (about A4)
- Gesso
- Hog Bristle brushes
- Synthetic Brushes
- Reeves acrylic paints
After researching the names of the brushes online I then went out to purchase some, Ito start I bought hog bristle thinking they would be the best but after this first part of this exercise on recommendation by an artist friend I went back and invested a bit more money in synthetic.
For this part of the exercise I used flat, angle, fan, bright, round and filbert brushes and acrylic paint and three sheets of Gesso prepared mixed media paper.
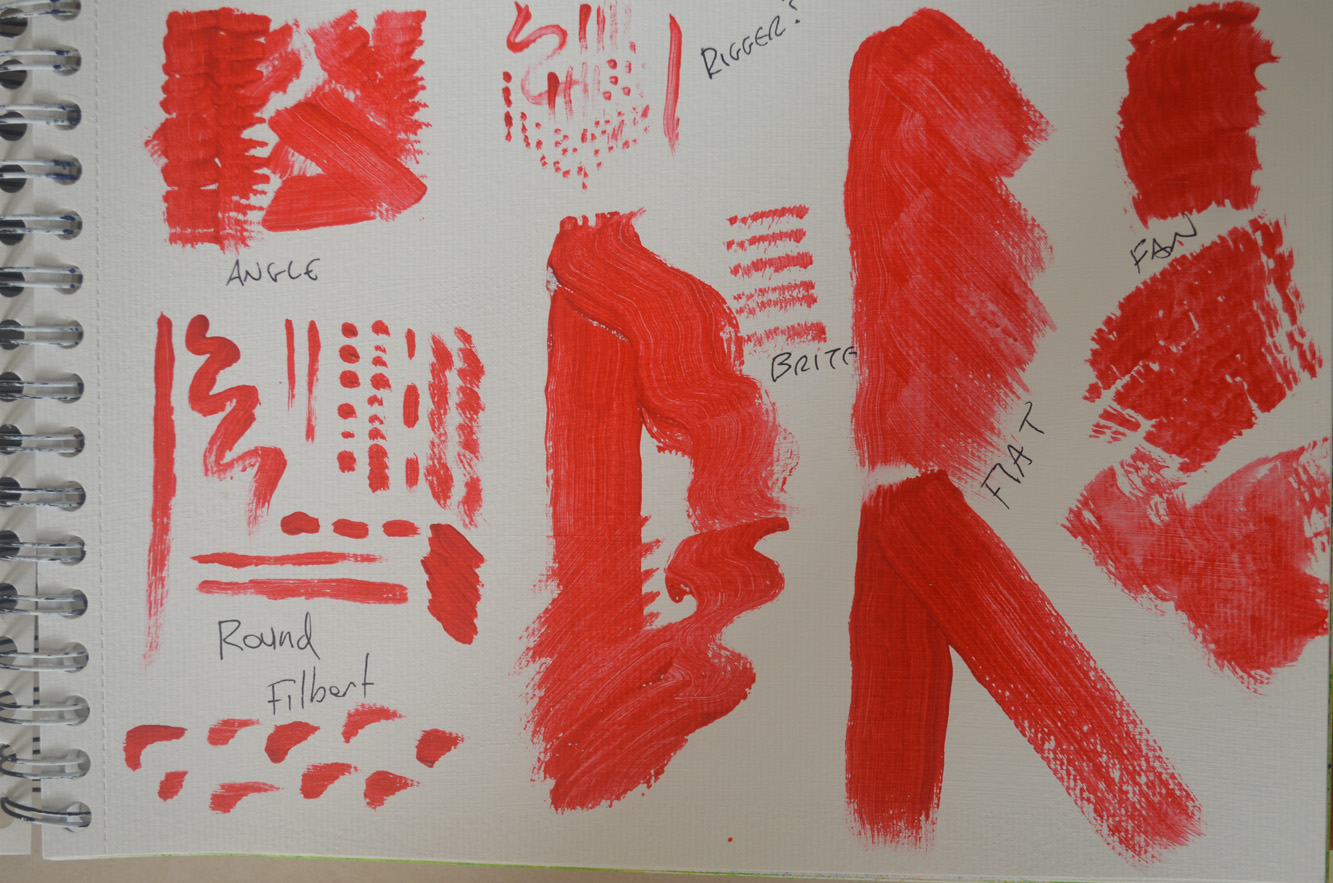
The first sheet in blue was basically my first attempt at getting to know the length, width and type of stroke I could get from each type of brush and I did use every type of brush I had at my disposal as I had never used any of these types of brushes before. On the next two sheets in brilliant red I looked more into what marks I could make with each brush.
I found that the main brushes made the following types of strokes:
- The ‘Flat’ brush made strong long strokes.
- The ‘Bright’ creates short controlled thick strokes.
- The ‘Filbert’ can create short round, flat, thin and pointed strokes.
- The ‘Round’ brush good for thin to thick strokes depending on how much pressure is applied
- The ‘Fan I thought this would be good for texture like leaves on trees and clouds but I think I need to find a synthetic fan as the hog bristle was a bit disappointing.

Getting to Know Your Brushes 1
Getting to Know Your Brushes 1 – Second Experiment
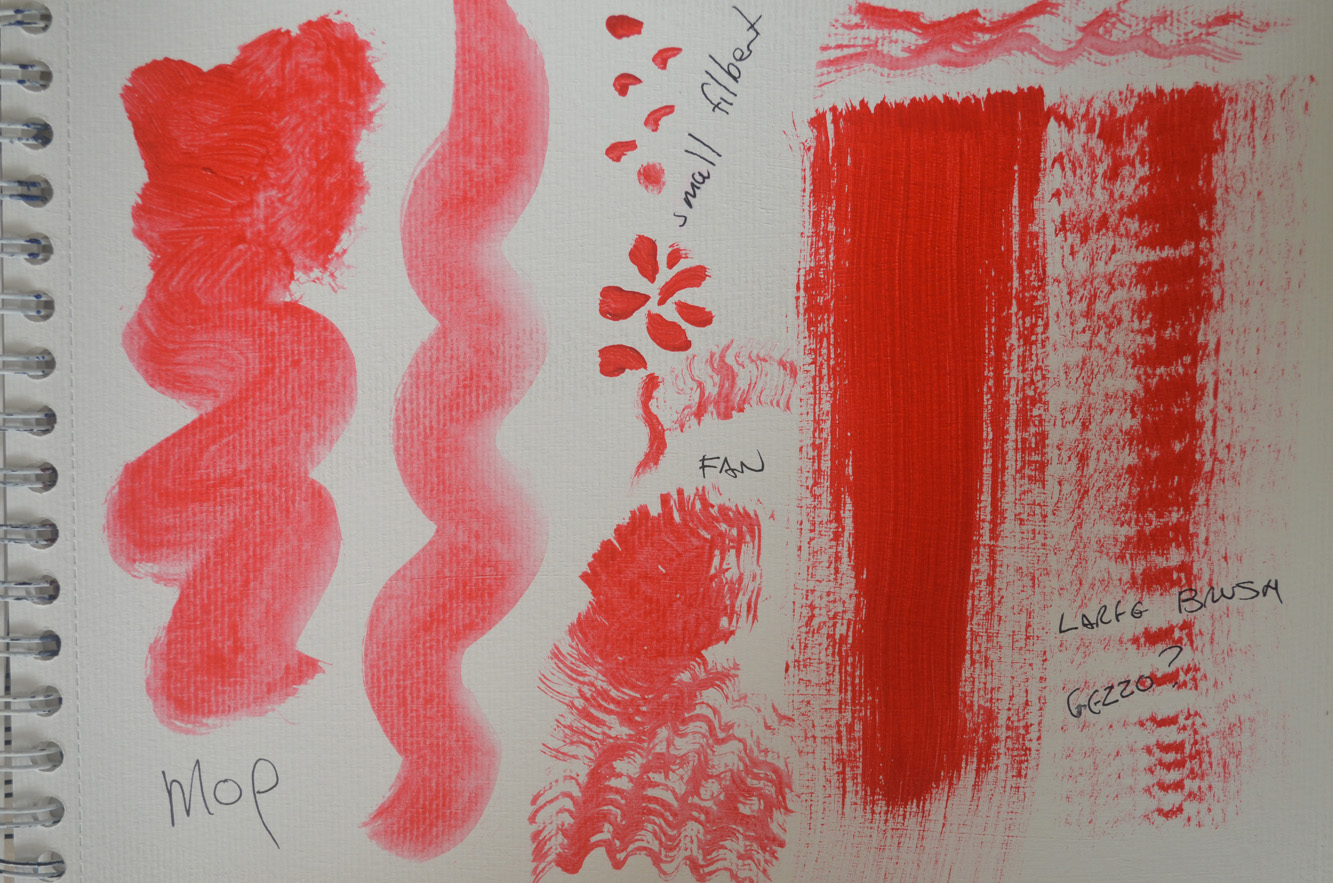
Getting to Know Your Brushes 1 – Third Experiment
From there I focused on the both synthetic and hog bristle Flat, Round and Filbert brushes in and with just these three brushes I made a wide variety of marks with short strokes, long strokes and by applying more or less pressure and different parts of the brushes to the paper.
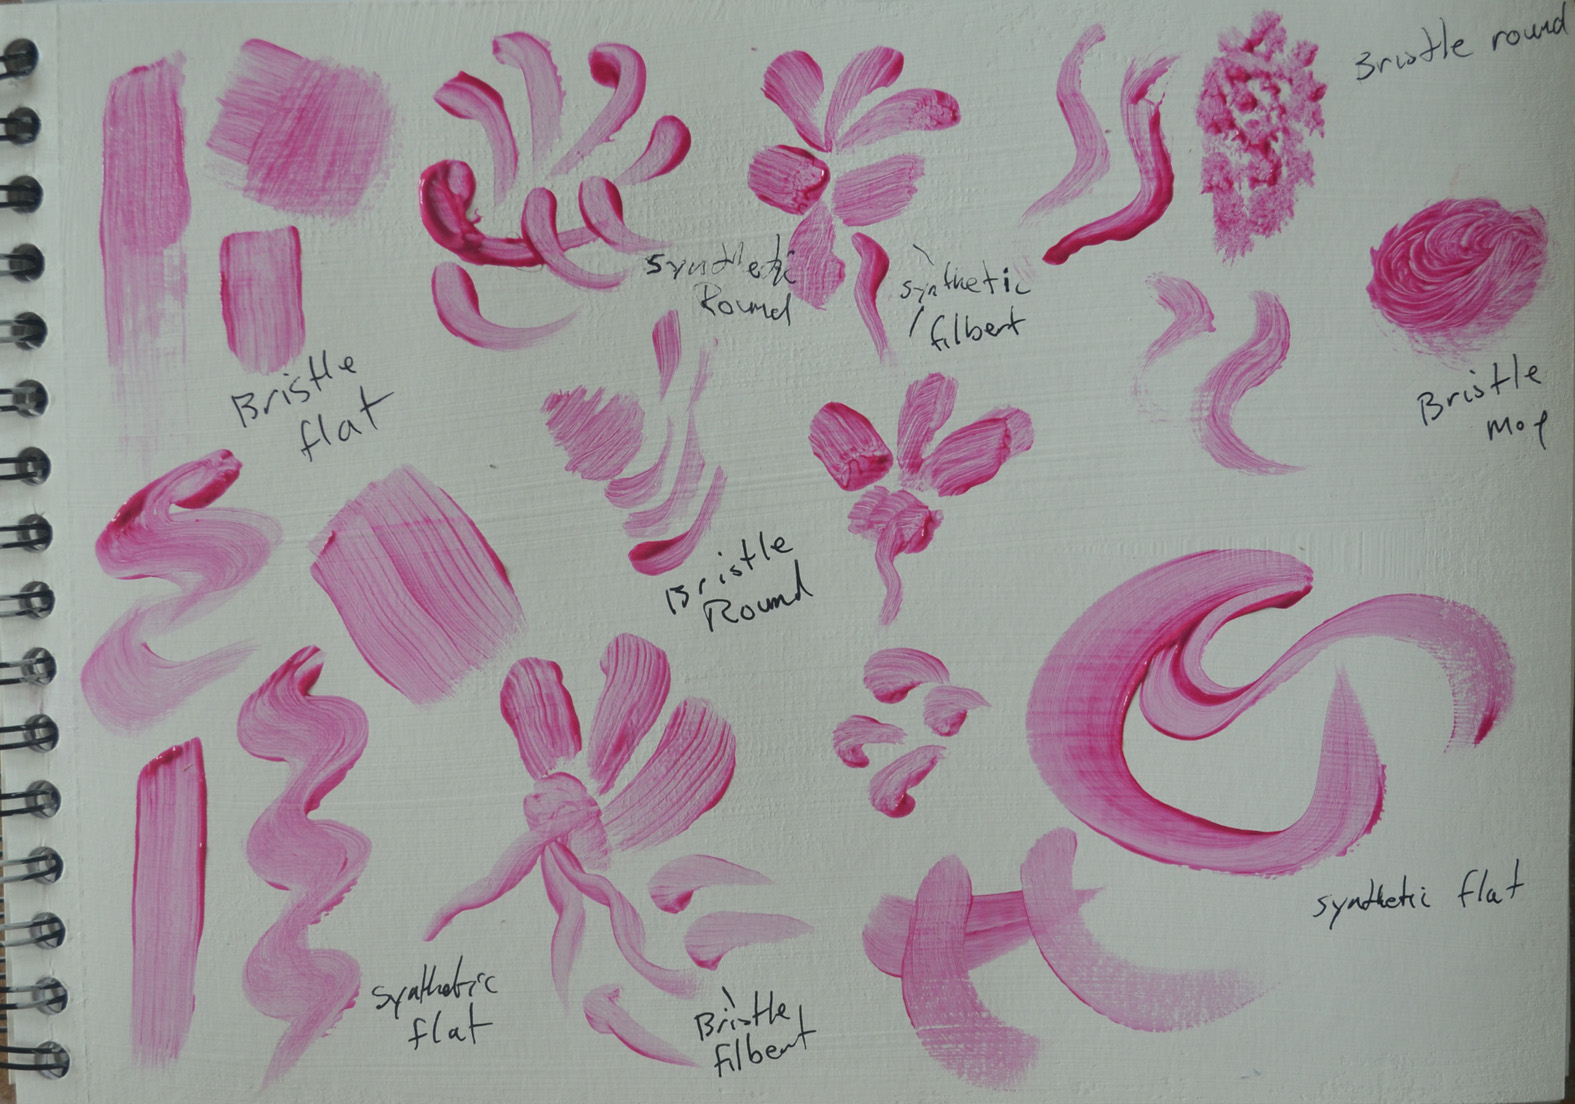
Getting to Know Your Brushes 1 – Marks with Flats, rounds and filberts
Part B : Then, from Memory, paint a small simple landscape (about A4). Use large brushes so you won’t be distracted by the urge to include detail; instead, concentrate on the possibilities and patterns made by the brush strokes.
Gettibg to Know Your Brushes 2 – A Landscape from Memory
I live in Bangkok and don’t get to see much country landscapes and throughout the Drawing 1 Course I drew most of my landscapes, bar one, in a park close by so the painting above, was from memory, from my 360 degrees studies. I concentrated on possibilities and patterns made by the brush strokes but these happened in the background as to the fore or middle-ground and with the fan and flat more than the other brushes that I use on this exercise which were a hog bristle medium wide, flat, filbert and fan although the smaller filbert was good for the leaves on the trees.

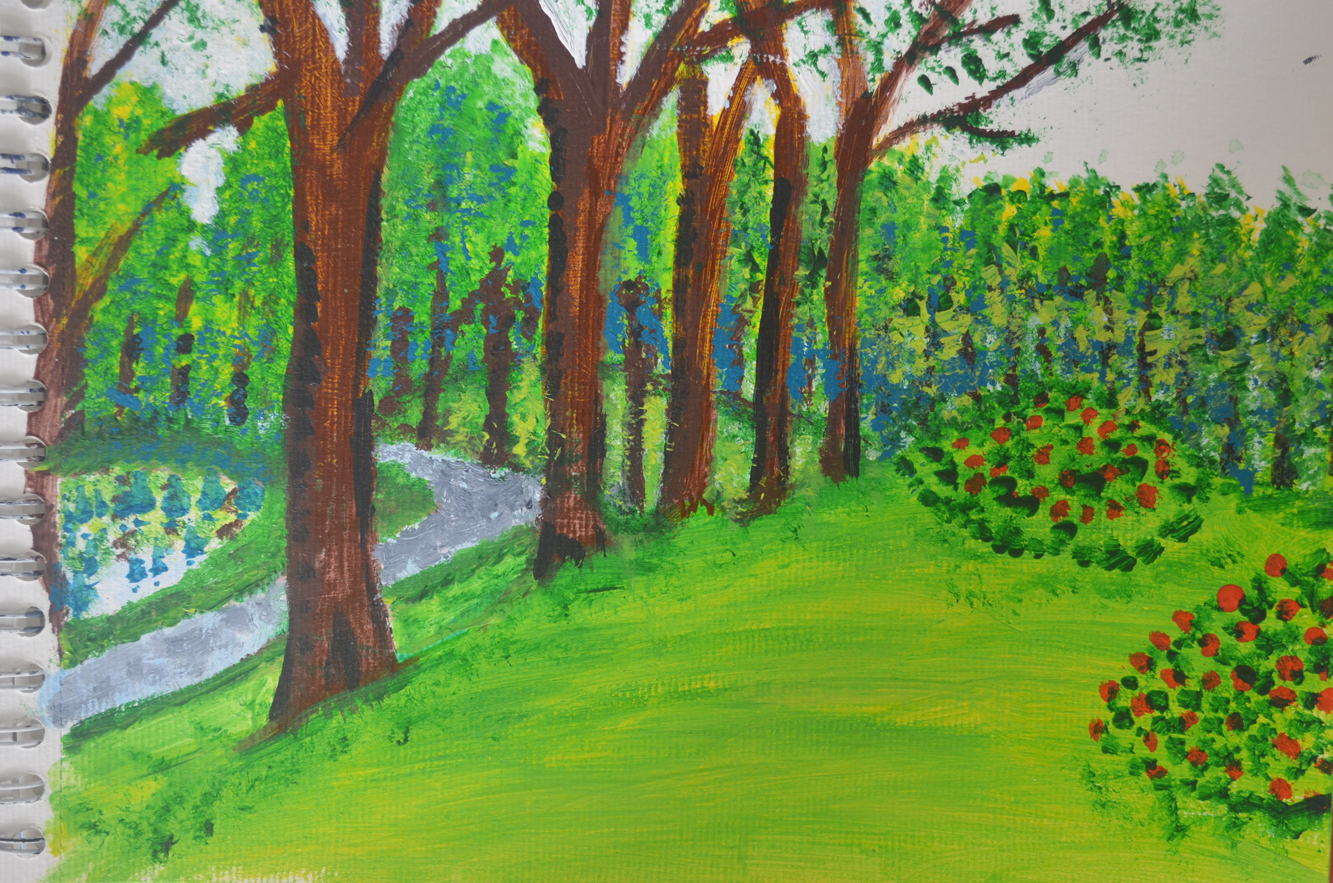
Getting to Know Your Brushes 2 – A Landscape from Memory 2
i decided to have another go at this part of the exercise, with synthetic brushes. Again from memory, from the same exercise 360 degrees studies, facing West. Looking at the original drawing in charcoal afterwards it is nothing like but it did give me chance to concentrate more on possibilities and patterns made by the brush marks.
I had more control with the synthetic brushes and found that the edge of the flat was great for grass, tree trunks, the filbert was good for shading as well as the curved form of the branches. This time I used a synthetic fan, which I think was for watercolour, and by using grass green at one end and lime yellow at the other I was able to depict the light shining off the trees and by fanning in a circular motion was able to give the trees more body.
Part C : Once you have experimented, paint a piece of fruit, using the techniques, taking care to set the fruit in direct light to help define the form.

Getting to Know Your Brushes 3 – Painting Fruit
Originally I bought four bananas for this part of the exercise but by the time I got round to it they had gone off in the heat of my kitchen so I used a pineapple I bought the day before. Because it was evening I directed a bendy lamp at it so I could define the form. I used a lot of the techniques that I had learnt above plus a few new ones but I used the Flat, Angular and Filbert mostly on this. I am glad I didn’t use the glossy gel on this as the flat matt acrylic paint makes the pineapple look almost stone like and even though I didn’t do an amazing job on the leaves they only add to the stone feel.

Pingback: Basic Paint Application 2: Applying Paint without Brushes | Mark Smith OCA Painting 1 : The Practice of Painting
Pingback: Basic Paint Application – Getting to know your brushes | Mark A Smith – Drawing Skills Level 1
Pingback: Basic Paint Application – Getting to know your brushes | Mark A Smith – Drawing Skills Level 1