Part 1 of this Research Point
Look at the work of some of the 17th century Dutch still life and flower painters. Make notes on paintings that you especially admire and find out more about the techniques that were employed at this time. Research at least one painting that has iconographic significance. Which of the objects depicted carry particular meaning and what was that meaning?
I started by searching for names of 17th century Dutch painters making a list of the names of artists whose work caught my eye, these included Jan Davidsz. de Heem, Jacob Gillig, Pieter Claesz and Evert Collier as well as Jan Weenix and Harmen Steenwyk. From there I went onto research the techniques used at that time so I could come back and examine the works of some of these painters in detail.
Techniques of the Dutch Masters
Unlike modern painters execute their paintings as a whole, working in a standing position so that they can step back to visualize the painting in its entirety, 17th century artists worked in a master studio to a fixed step by step method. They divided the workload into separate phases so that they could take care of the all important components individually. The compositions of the still life paintings of the 17th century were much more intricate than today and therefore the Dutch masters paid far more attention to detail and perspective and so a more technical process was needed, completing each painting in a piece by piece fashion once the drawing and lighting had been worked out at the underpainting stage.
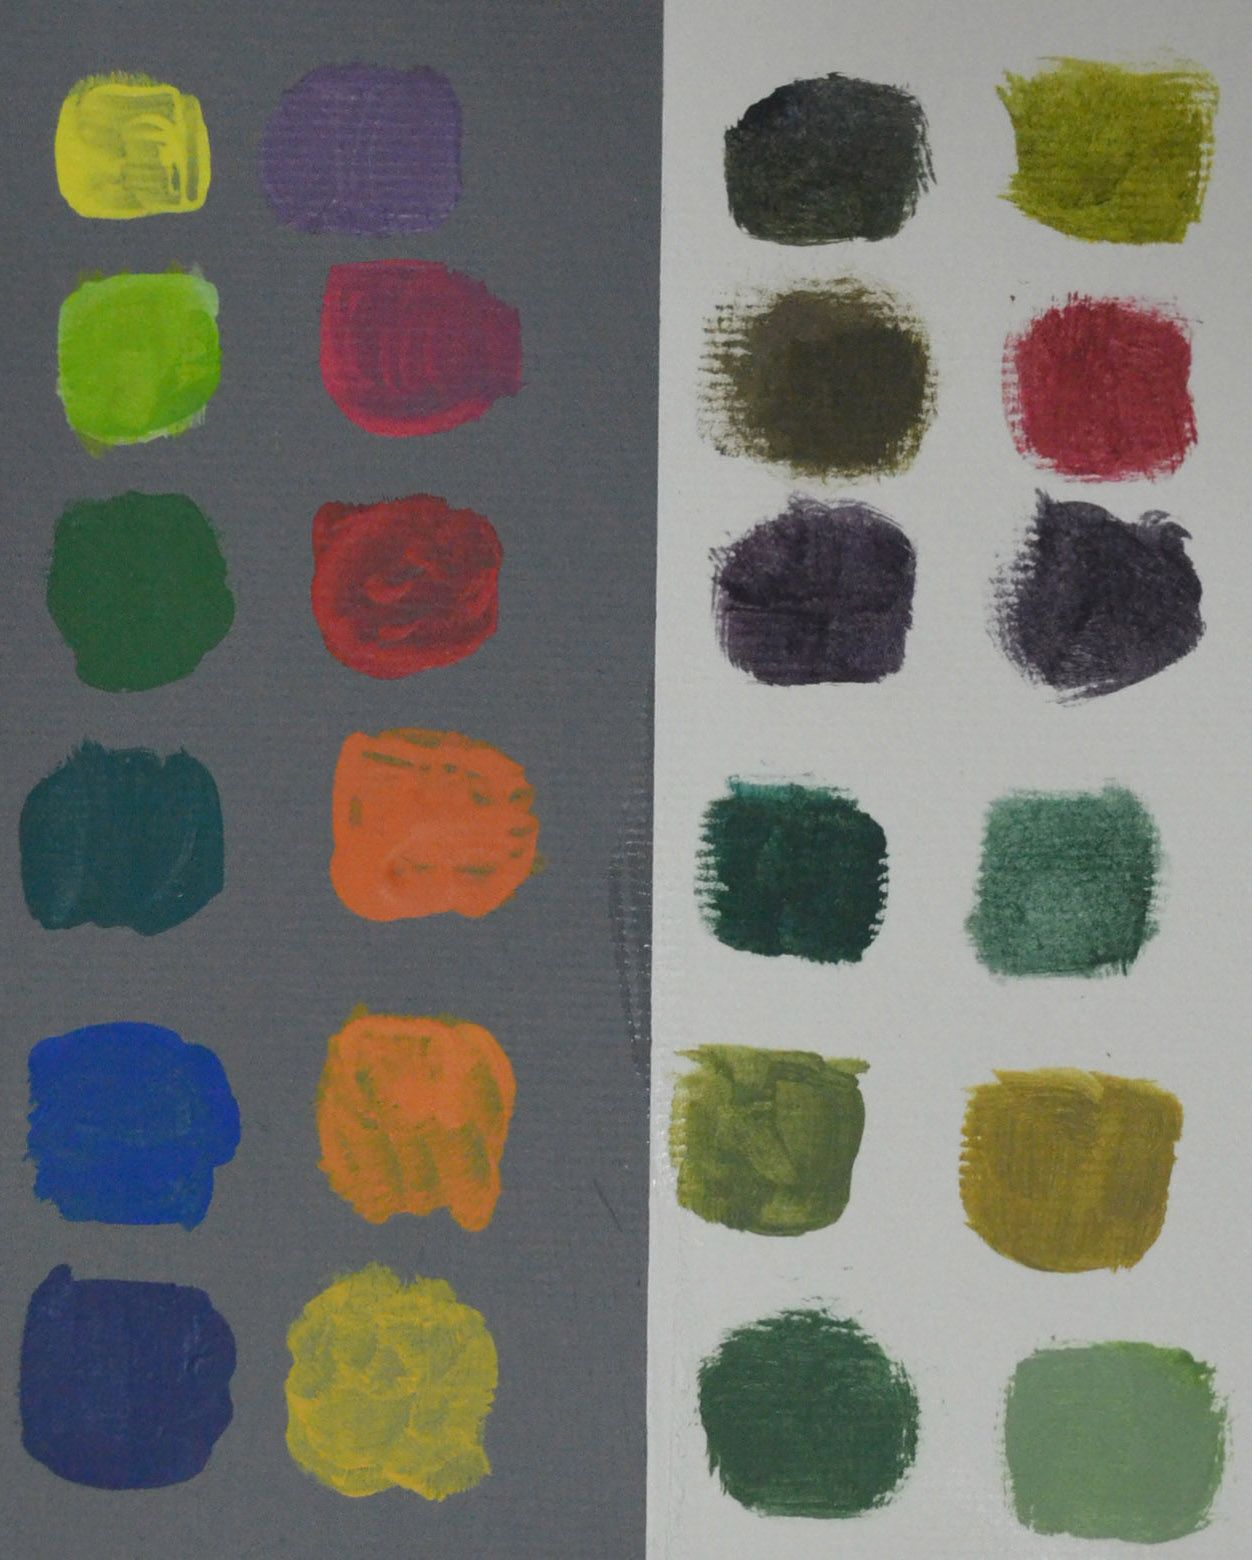
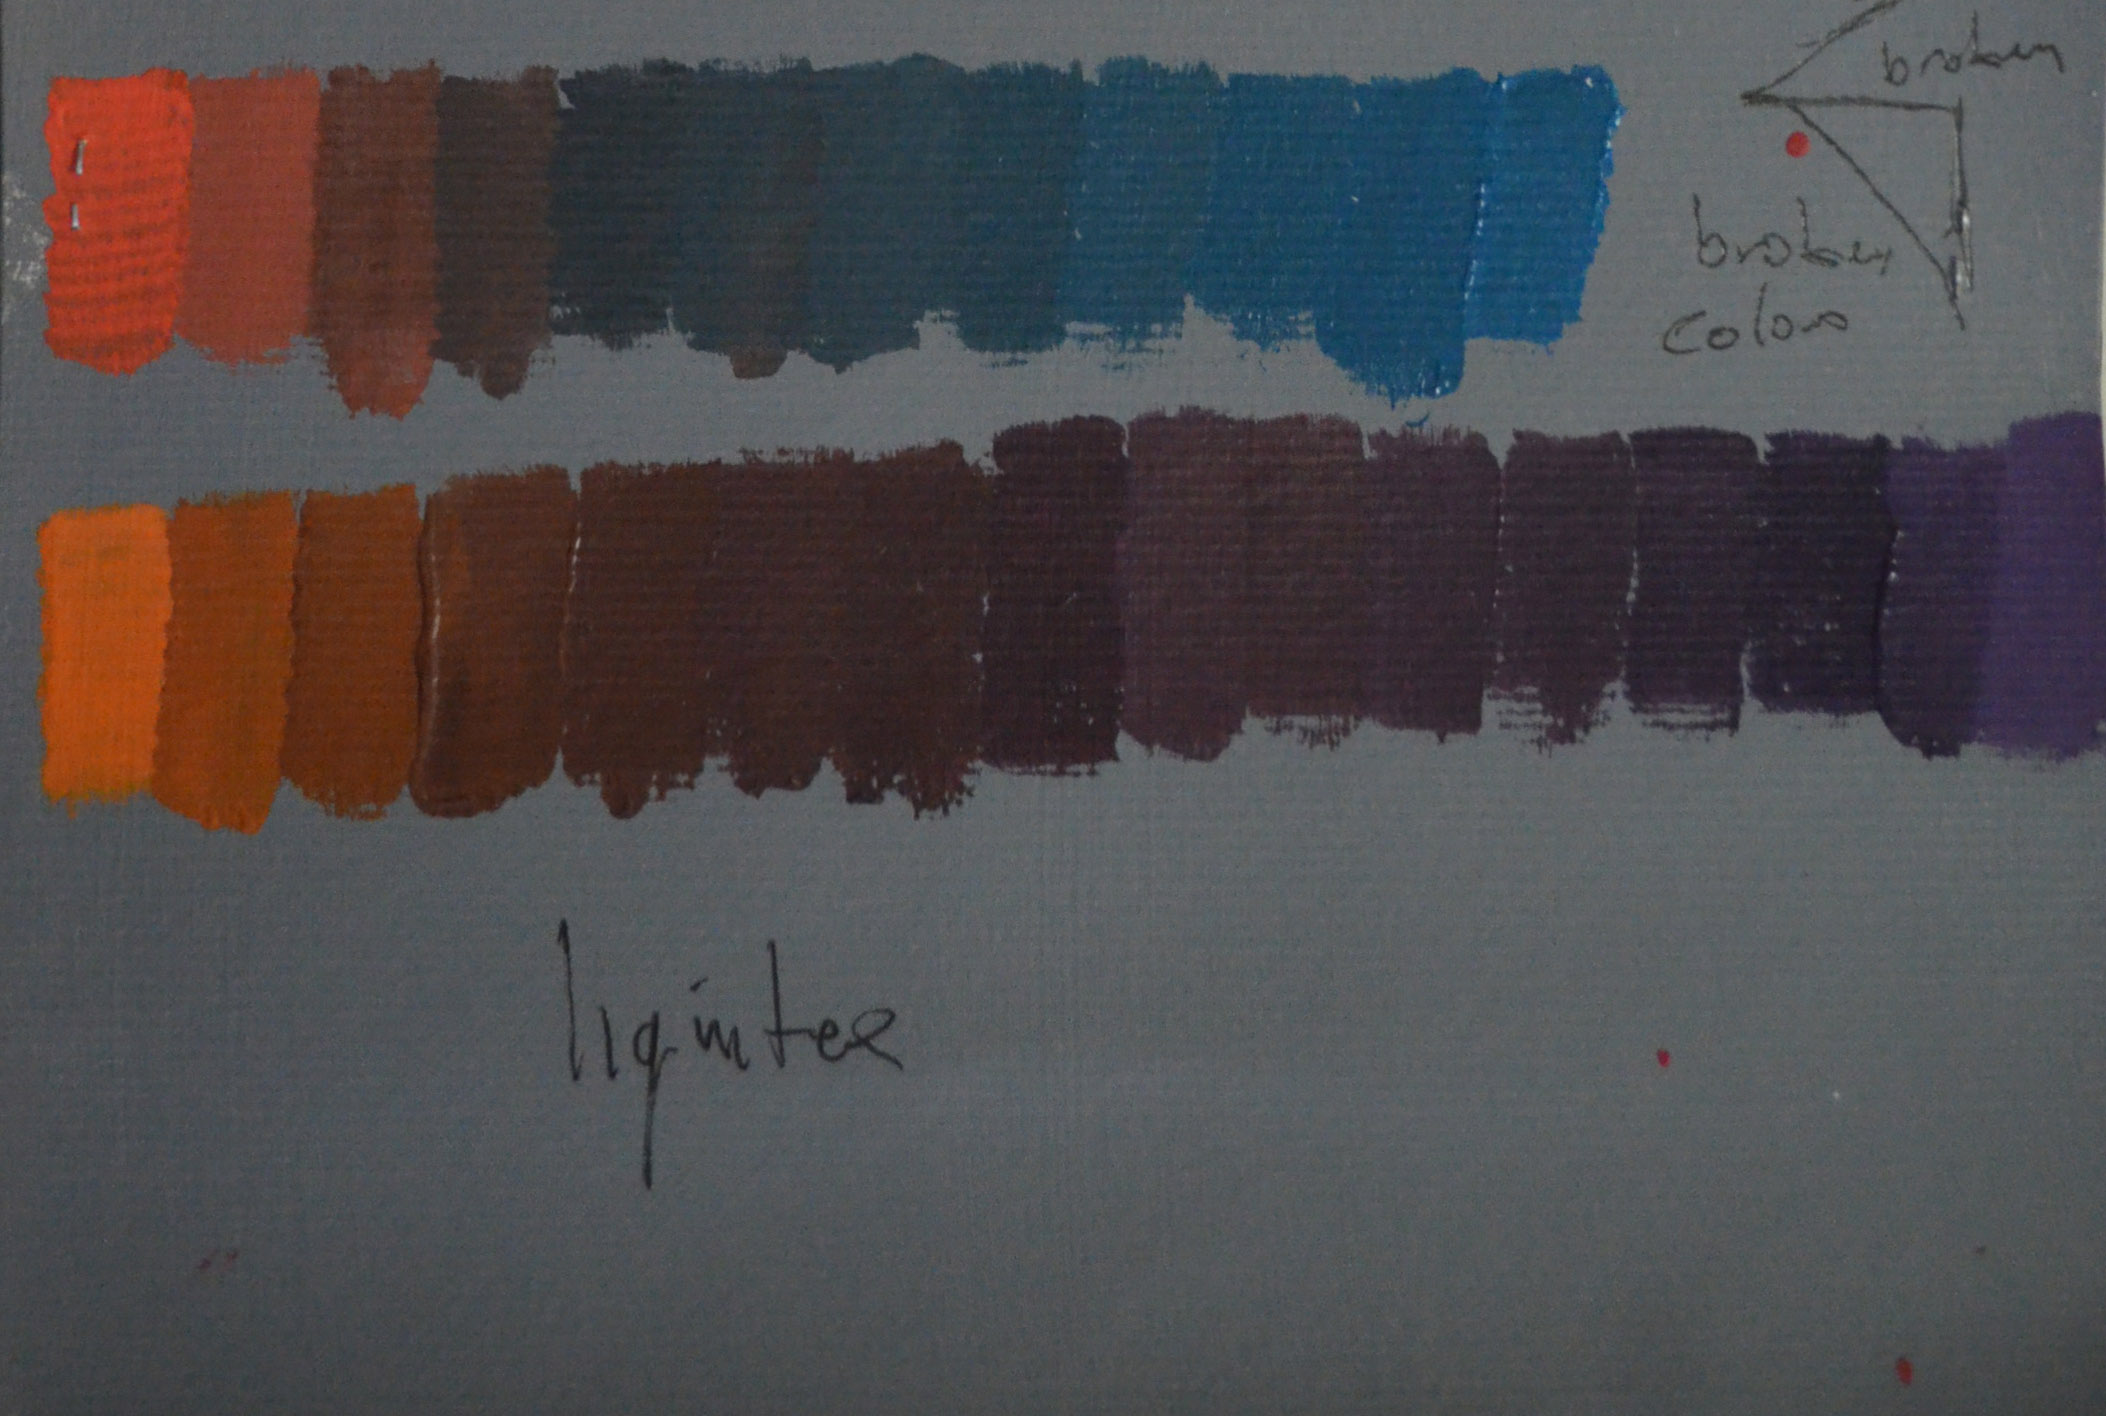
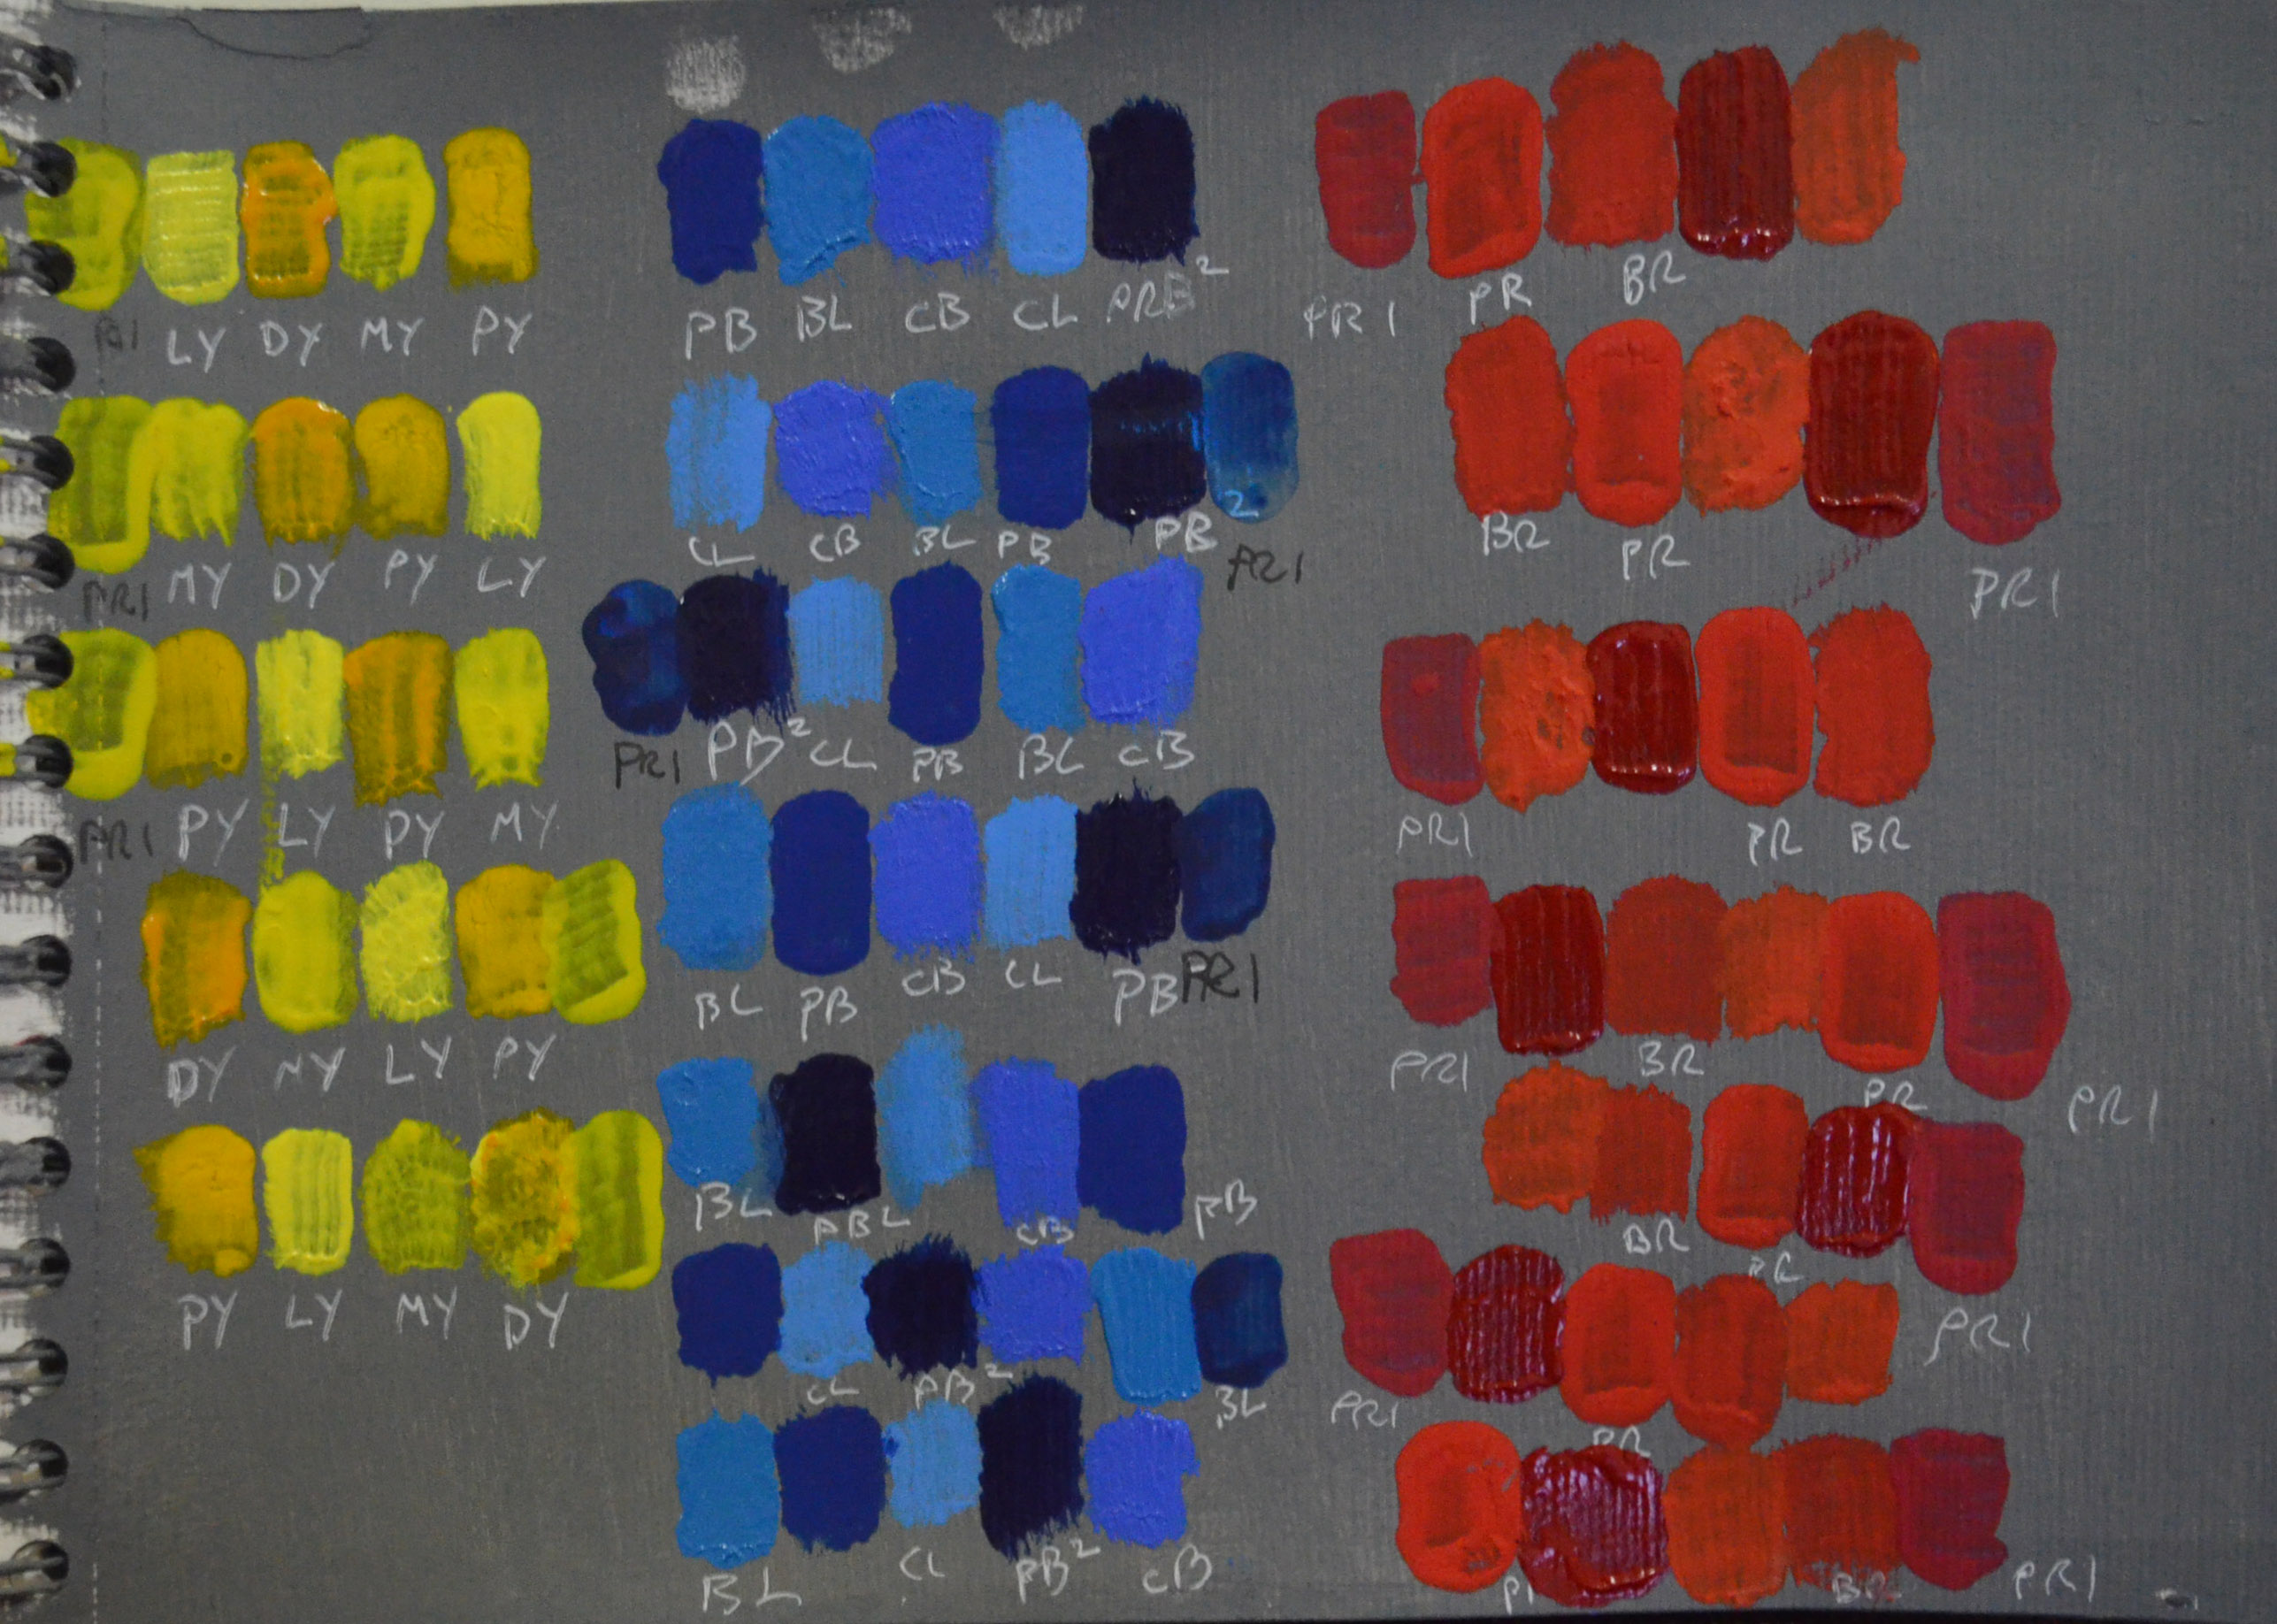
The artists of 17th century Holland also had far less pigments on their palettes than today’s artists as their choice of pigments were far less, usually having to be hand ground at the beginning of each working day, in addition to this not all pigments were compatible with each other and so had to be used individually. Complex painting techniques such as glazing, underpainting and using varying paint consistencies and application methods helped them to compensate for the lack of pigments.
For the 17th century painter there were several stages to producing a painting, these were: inventing (drawing or sketching), dead-coloring (underpainting), working-up (finishing/application of colour) and retouching.
One notable technique that I found was for painting patterned lace, Rembrandt evolved a technique where he painted lightly in black over white to show the pattern but the other way, one which particularly appealed to me was to paint in white over black then scratch off the white with the end of the paintbrush to depict the pattern.
Paintings of the Dutch Masters
Examining the still life paintings of this era is different from anything I’ve looked at before as I have to remember that most of these were commissioned and so I have to look at iconography in the painting, floral compositions, backgrounds etc.
Jan Davidszoon de Heem

Jan Davisz de Heem Still Life with a glass and Oysters
I looked at several paintings by Jan Davidsz. de Heem but the first one that caught my attention was Still Life with a Glass and Oysters. However, it wasn’t the oysters that caught my eye, it was the bunch of grapes, and glass.
According to the paper Symbols of Change in Dutch Golden Age Still Life Paintings by Ellen Siegel, grapes in Dutch Golden Age Paintiings (DGAP), grapes were a religious symbolism or symbolism of purity and can also be symbol of trade with Spain. Glassware was symbol of wealth or moderation. The large luxurious glass in this painting is obviously a symbol of wealth and so I would say that the grapes rather than a religious symbol in this piece were the latter, a symbol of trade. Oysters in DGAP symbolism were a symbol of natural aphrodisiac and temptation. So i am thinking that person who commissioned the artist to paint this piece enjoyed a luxurious lifestyle and maybe parties with this piece on display for all to see.

Jan Davisz de Heem Still Life of Flowers
Although we just see floral paintings as beautiful paintings, something to brighten up the room, certain flowers in DGAP’s carried a lot of symbolism. In the painting on the right ‘Still Life with Flowers, there are several flowers that have hidden meanings. Tulips are a symbol of wealth and beauty, originating from Turkey this maybe why in most of the paintings I have looked at by Jan Davidsz. de Heem the tulips point east, the white rose which can be seen in the bottom left is a symbol of virginity while the three petal pansy in the bottom right was a symbol of the holy trinity. White carnations have become a symbol of love but when that started is unclear.
Could this painting have been commissioned for a merchant’s wife or girlfriend? Could this have been commissioned by the merchant himself? Are the flowers in the painting really symbolising these things or is it just a painting that has been commissioned to display the wealth of the owner as cuttings from his luscious garden?.
Pieter Claesz

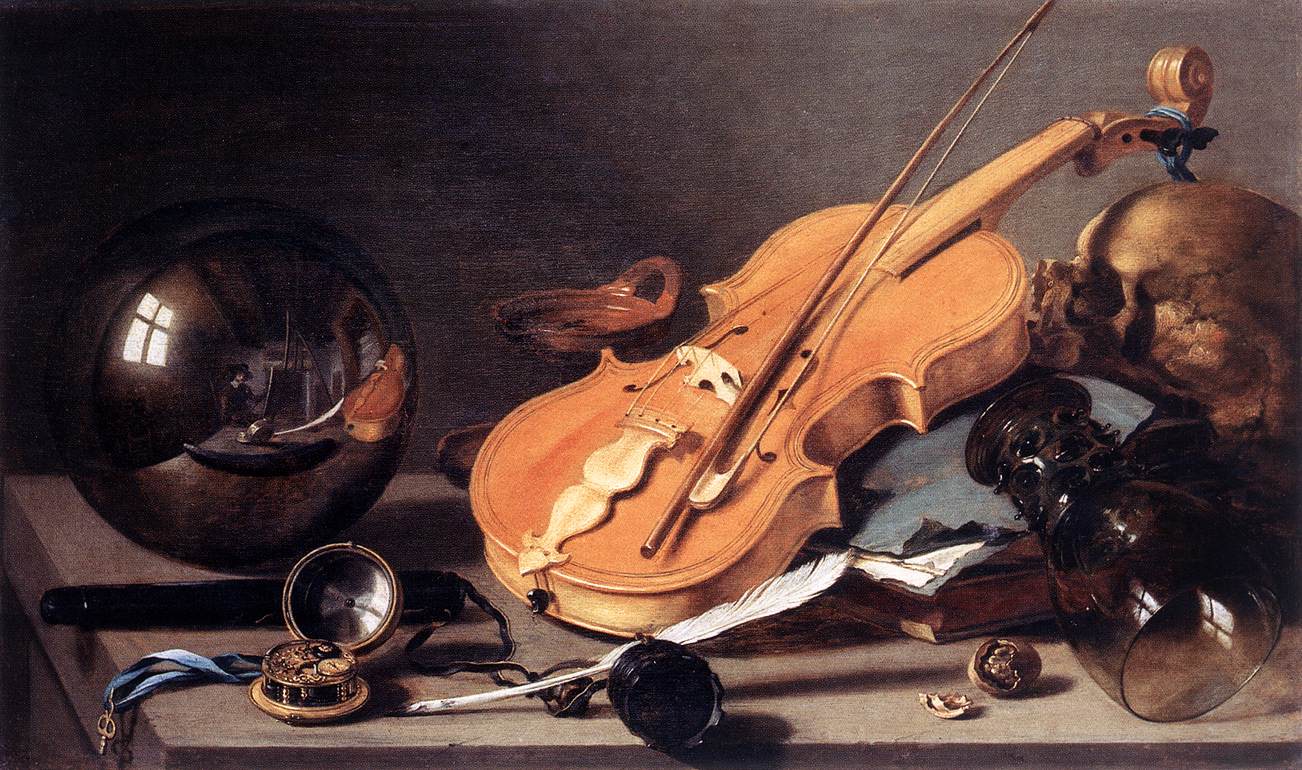
Vanitas with Violin and Glass Ball Pieter Claesz
The first ‘vanitas’ painting by Pieter Claesz that caught my eye was ‘Vanitas with Violin and Glass Ball’, but is this really a commissioned painting or a painting that was kept in his studio for clients to see as they walked in, there seems to be far too much iconography for one painting Why is the reflection of the artist seen in the painting? Could this be to show the level of work that he could accomplish for his clients or to be shown off by the person who commissioned the piece, that ‘Pieter Claez really did paint this piece’!
In GADP symbolism a voilin was often the symbol of learning, knowledge or warning against sinful life . The skull is a reminder that life is short and a warning to put more emphasis on spiritual rather than earthly cares while a spilled glass may imply moderation or fleeting life. If a commissioned, piece could it imply that the owner is a man of knowledge, an educated person (hence the who quill and ink) who is not simply wasting away his short time on earth but using it the best he can?
Part 2 of this research point
Explore the development of still life through the 18th, 19th and 20th centuries, For example, look at traditional still subjects were dealt with in some early cubist paintings by Brque and Picassso. Investigate how some contemporary artists are interpreting this genre.
Still Life in the 19th Century
I looked at four still life artists from the 18th century these were Jean Siméon Chardin, Jan van Huijsum, Jean-Baptiste Oudry and Jan Weenix. There were certain differences that I noticed and I have noted them here:

Jan van Huysum Vase of Flowers
With floral paintings, 18th century artists were now showing more of the vase than before, I’m not sure whether the vase itself now began to symbolise something other than a luxury, The attention to detail was still there but the paintings began to lose there hyperreal look, maybe the artists of the 18th century were now beginning to look at the painting as a whole, colours were brighter, this could have been down to more pigments being available and if this is so then artists of the eighteenth century could have put less focus on the techniques of the 17th century. Stalks, stems and petals were more expressive, and now showed a life of their own.

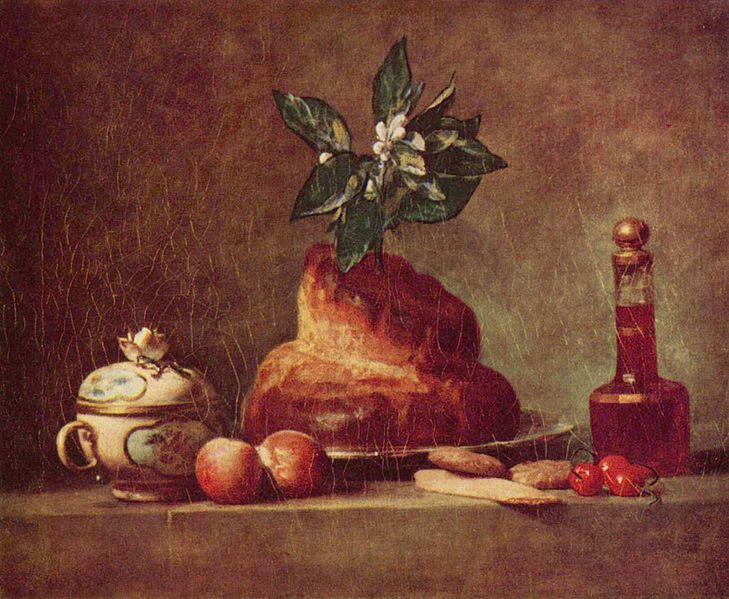
Jean Baptiste Siméon Chardin Still Life with Bread
More still lifes of this century were painted outdoors, with statues, dogs and dead game now showing off the owners wealth and social status. Artists such as Jean-Baptiste Oudry were now combined superb renderings of the textures of fur and feather with simple backgrounds, While Jean-Baptiste Chardin painted small and simple compositions of food and objects in a most subtle style that both built on the Dutch Golden Age masters, and was to be very influential on 19th-century compositions. Vanitas and religious symbols had now been dropped from commissioned works.
Still Life in the 19th Century
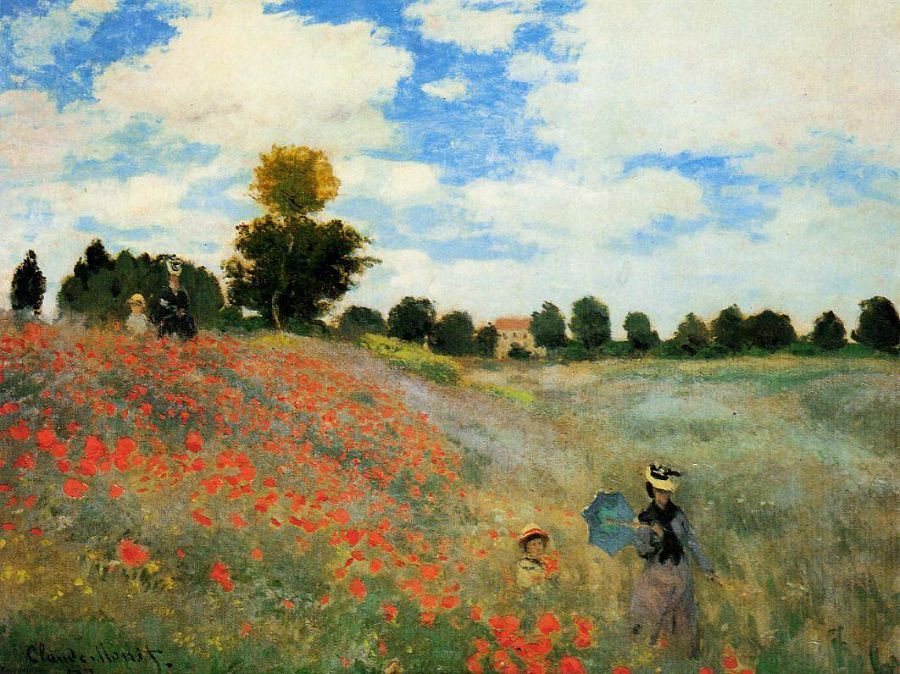
The Luncheon II Claude Monet
Artists in the 19th began to break the tradition of the dark background with Claude Monet being one of the first to do so, Moreover, technique and colour harmony began to play more important roles than subject matter. ‘The Luncheon II’ left is a perfect example of this.
Van Gogh made one of the main contributions to floral still life in the 19th century with is ‘Vase of Fifteen Sunflowers.’ But other notable paintings by van Gogh were his version of a ‘vanitas’ painting, ‘Still Life with Open Bible, Candle, and Book’ and ‘Still Life with a Drawing Board’.

Vincent van Gogh – Still Life with a Drawing Board
This was a self portrait in the form of a still life which was a composition of some of his personal items such as pipe, a letter from his brother as well as onions and an inspirational book presented on a table.
Still Life in the 20th Century
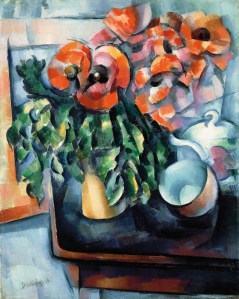
Paul Cezanne – Floral Still Life 1914
The first few decades of the 20th century produced a string of overlapping movements, gradually reaching total abstraction in the mid century. Paul Cézanne started to experiment with geometric spatial organization using still life to demonstrate elements of colour, line and form.
Cézanne’s experiments lead to the development of the cubist still live movement in the early 20th century. Cubists such as Pablo Picasso, Georges Braque, and Juan Gris deconstructed objects into pure geometrical forms and planes, their still life’s that often included musical instruments brought the genre to the forefront of artistic innovation for the first time.
Looking at Georges Braque’s ‘Still Life with a musical scroll’ below you can see that his still life composition includes many of the traditional still life subjects that have been present since the Dutch Golden Age of painting including musical instruments. grapes and other fruit.

Still Life with Music Scroll – Georges Braque

Picasso – Still Life with Violin and Fruit
Picasso’s Still life with violin and fruit, comprise of still life objects that are barely recogniseable as they merge into the background. This is an example of the synthetic cubist works which achieved goals almost opposite to those of traditional still life.
Still LIfe in Contemporary Art
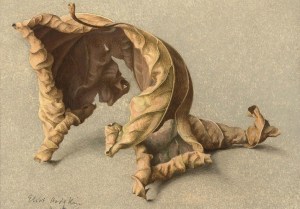
Eliot Hodgkin Large Leaf 2 Tempera on Card
Contemporary artists gain influence from past movements but they are also constantly developing there own interpretation of still life.
http://www1.umassd.edu/euro/2011papers/siegel.pdf
http://en.wikipedia.org/wiki/Dutch_Golden_Age_painting
http://www.essentialvermeer.com/technique/technique_overview.html#.VPMKkfmUfjs
http://www.metmuseum.org/toah/hd/nstl/hd_nstl.htm
http://global.britannica.com/EBchecked/topic/623056/vanitas
http://en.wikipedia.org/wiki/Still_life